
How to Braid Challah — 3, 4, 6 Strand & Round Techniques
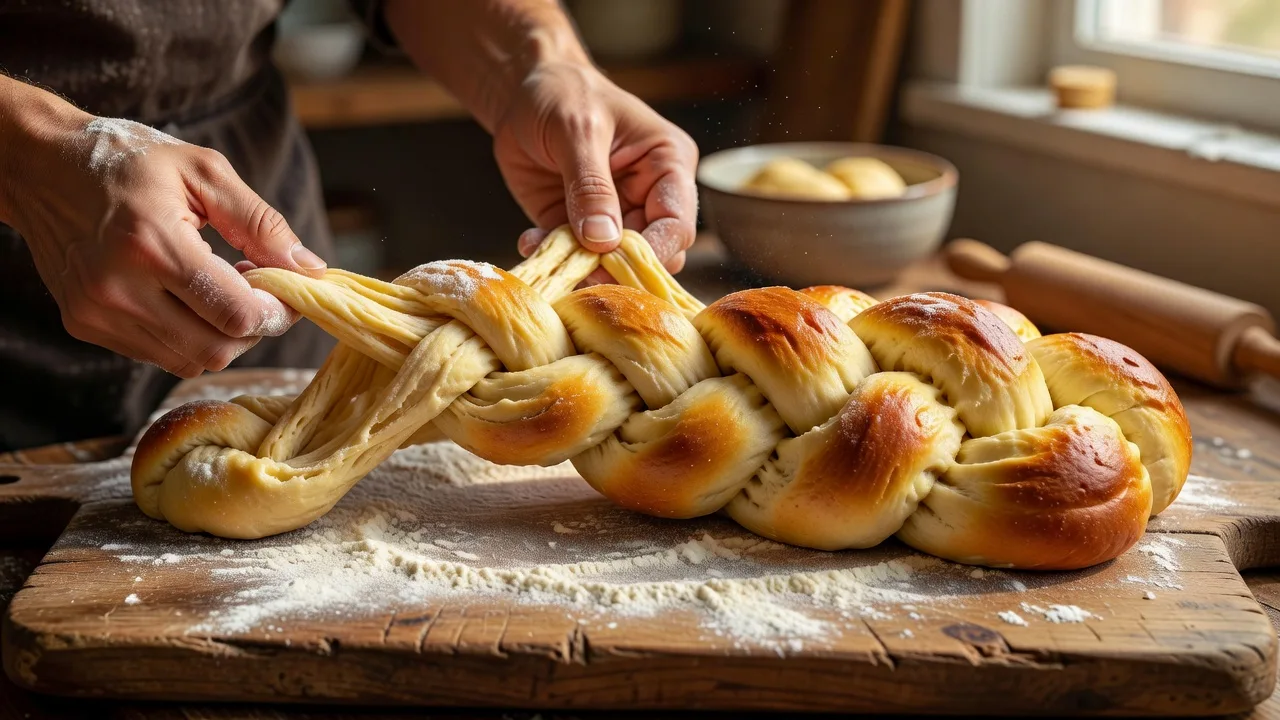
Before you braid: Let the dough rest 10–15 minutes after dividing. Fresh-cut dough is elastic and springs back. A short bench rest relaxes the gluten so the strands hold their shape and the braid stays tight.
The Dough You Need
All these techniques work with any standard challah dough. The braiding method does not change the recipe — only the shaping. For best results, use dough that has completed its first rise and is smooth, elastic, and slightly tacky but not sticky.
→ Use our Classic Kosher Challah Recipe as your base dough for any of these shapes.
Technique 1: The 3-Strand Braid (Standard Shabbat Challah)
The most common challah shape in the world. Three strands, woven like a French braid. Clean, elegant, and reliable — the everyday Shabbat loaf.
How to divide
Divide the dough into 3 equal pieces. Roll each into a rope 35–40 cm (14–16 inches) long, slightly tapered at both ends. Lay all three ropes parallel.
Step-by-step
- Pinch the three ropes together firmly at one end.
- Take the right rope and cross it over the center rope. The right is now the center.
- Take the left rope and cross it over the center rope. The left is now the center.
- Repeat: right over center, left over center, right over center…
- Braid all the way to the end. Pinch the ends together and tuck them under the loaf.
Tips
- Keep tension even — neither too tight (splits during baking) nor too loose (braid opens up).
- The braid should be fatter in the middle and taper at both ends. This is the traditional shape.
- After braiding, gently cup the loaf in both hands and compress slightly toward the center to make it rounder and taller.
Technique 2: The 4-Strand Braid
More elaborate than the 3-strand, with a tighter, more compact crumb and a distinctive herringbone pattern on top. Slightly harder but worth learning for Yom Tov. The 4-strand braid does not pull apart as evenly at the table, but it holds its shape beautifully.
How to divide
Divide dough into 4 equal pieces. Roll each into a rope 35–40 cm long. Lay all four ropes parallel, fanning slightly. Pinch firmly at the top.
Step-by-step (the over-under pattern)
- Number the strands left to right: 1, 2, 3, 4.
- Take strand 4 (rightmost) and weave it: under 3, over 2, under 1. It is now on the left. Renumber 1–4 from left to right.
- Take the new strand 1 (leftmost) and weave it: under 2, over 3, under 4. It is now on the right. Renumber.
- Repeat from step 2 until you run out of dough.
- Pinch ends and tuck under.
Tips
- Work slowly and renumber mentally after each move.
- The pattern looks complex but the rule is always the same: the outer strand weaves all the way across.
- 4-strand challah is wider and flatter than 3-strand. Compensate by using a loaf pan for a taller rise.
Technique 3: The 6-Strand Braid (Bakery-Style)
The professional challah shape you see in bakery windows. Tall, with a deeply textured crust and a dramatic appearance. The 6-strand braid is not harder than the 4-strand — it just uses more strands but a simpler weaving rule.
How to divide
Divide dough into 6 equal pieces. Roll each into a rope 40–45 cm (16–18 inches) long. Lay all six parallel. Pinch firmly at the top. Number left to right: 1, 2, 3, 4, 5, 6.
Step-by-step
- Take strand 6 (far right) and cross it over strand 1 (far left). Strand 6 is now the far left.
- Renumber: new 1 through 6 left to right.
- Take the new strand 2 and cross it over strand 6 (far right). Strand 2 is now the far right.
- Renumber. Take the new strand 1 and cross it over strand 3.
- Continue the sequence: far right over far left; then second from left over far right; then far left over third from left — and repeat.
- The key rule: always cross from the outside toward the center.
- Pinch ends, tuck under.
Easier 6-strand shortcut: Many professional bakers use two separate 3-strand braids. Braid them individually, then place one on top of the other at a slight angle and pinch the ends together. The result looks like a 6-strand braid with half the complexity.
Technique 4: The Round Coil (Rosh Hashanah Challah)
The traditional shape for Rosh Hashanah — a spiral or coil rather than a braid. The round shape symbolizes the cycle of the year: no beginning, no end. Some communities use a bird shape on the top of the coil; others press in raisins to sweeten the new year.
Method A: Simple spiral (easiest)
- Roll the entire portion of dough (what would normally be one loaf’s worth) into a single long rope, 60–80 cm (24–32 inches). Taper both ends.
- Start from one end and coil the rope around itself in a tight spiral on the baking sheet, like a cinnamon bun.
- Tuck the end under the outer edge to secure it.
- Place any raisins pressed into the dough before rolling, so they distribute through the coil.
Method B: Braided round (advanced)
- Make a 3-strand or 4-strand braid as above.
- Curve the braid into a circle, bringing the two ends together.
- Pinch the ends together firmly — hide the seam on the underside.
- The finished wreath shape is especially impressive for the holiday table.
Raisin challah for Rosh Hashanah
Add 150–200 g of raisins (soaked 10 minutes in warm water, then patted dry) to the dough during the last 2 minutes of kneading. The raisins sweeten the new year and add moisture to the baked loaf. Alternatively, press them into the surface after shaping for a decorative look.
→ Raisin Challah Recipe • Honey Challah Recipe • Apple Challah Recipe
Technique 5: The Pull-Apart (Individual Rolls in a Pan)
Shape challah dough into individual rolls and pack them tightly in a baking pan so they bake touching each other. The rolls merge during baking but pull apart cleanly at the table — each person gets their own portion without cutting. Perfect for large Shabbat meals and synagogue kiddush where serving individual slices is impractical.
- Divide dough into pieces of 50–70 g each (a kitchen scale is essential here).
- Roll each piece into a tight ball, pinching the seam on the underside.
- Place in a greased rectangular or round baking pan, close but not touching (they will expand to touch during the second rise).
- After the second rise, egg wash, and bake as for standard challah.
→ Challah Rolls Recipe • Pull-Apart Challah Recipe
Troubleshooting Common Braiding Problems
| Problem | Cause | Fix |
|---|---|---|
| Strands spring back when rolling | Dough is too elastic — gluten not relaxed | Rest dough balls 10–15 min before rolling into ropes |
| Braid unravels during baking | Ends not pinched firmly; over-proofed | Pinch ends firmly and tuck under; don’t over-proof |
| Braid looks flat instead of tall | Too loose; strands not compressed inward | After braiding, cup loaf and gently squeeze toward center |
| One end fat, one end thin | Strands not evenly tapered; started braiding too tight | Roll ropes fatter in center, tapered at ends; braid with even pressure |
| Braid splits open at the top during baking | Braided too tightly; dough has no room to expand | Leave slight gaps between strands; the oven spring fills them |
| Round coil unspirals | Rope not long enough; end not tucked under | Roll rope longer (60+ cm); tuck end firmly under center of coil |
Frequently Asked Questions
How many strands should a beginner use?
Start with 3. The 3-strand braid is foolproof, looks beautiful, and produces excellent challah. Most professional bakeries use 3-strand for everyday loaves. Move to 6-strand once your 3-strand is consistently tight and even — not before. The number of strands does not affect the flavour.
Does the number of strands affect how the challah tastes?
The flavour is identical. What changes is the crust-to-crumb ratio: more strands create more surface area, producing a slightly crispier exterior and more visible golden crust. A 6-strand braid has more nooks and a more dramatic appearance, which makes it impressive for Yom Tov. The dough is the same.
How do I get even-sized strands?
Use a kitchen scale. Divide the total dough weight by the number of strands required. Roll each strand to the same length using a ruler or the length of your baking sheet as reference. Visual eyeballing produces uneven braids. Weight is the only reliable method.
What is the traditional shape for each holiday?
- Shabbat year-round: Long braided loaf (3 or 6 strand)
- Rosh Hashanah: Round coil with raisins
- Sukkot: Round or the same as Rosh Hashanah through Simchat Torah
- Shabbat after Passover (Shlissel Challah): Key-shaped or with a real key baked in — a segulah for parnassah
- Purim and other Yamim Tovim: No specific shape required; many bakers make decorative twisted or animal-shaped loaves
Can I braid the challah the night before?
Yes — this is a popular approach. After the first rise, divide, shape, and braid the challah. Cover tightly with oiled plastic wrap and refrigerate overnight (up to 16 hours). The cold slows the second rise dramatically. Remove from the fridge 30–60 minutes before baking to take off the chill, then egg wash and bake. Cold-retarded challah often has better flavour due to the extended fermentation.
Ready to Braid? Start with Our Classic Recipe
The dough in our Classic Kosher Challah Recipe is forgiving, elastic, and perfect for practicing all five techniques above.
