Recipe Collection
148 tested kosher recipes with baker’s percentages and complete halachic guidance.
-
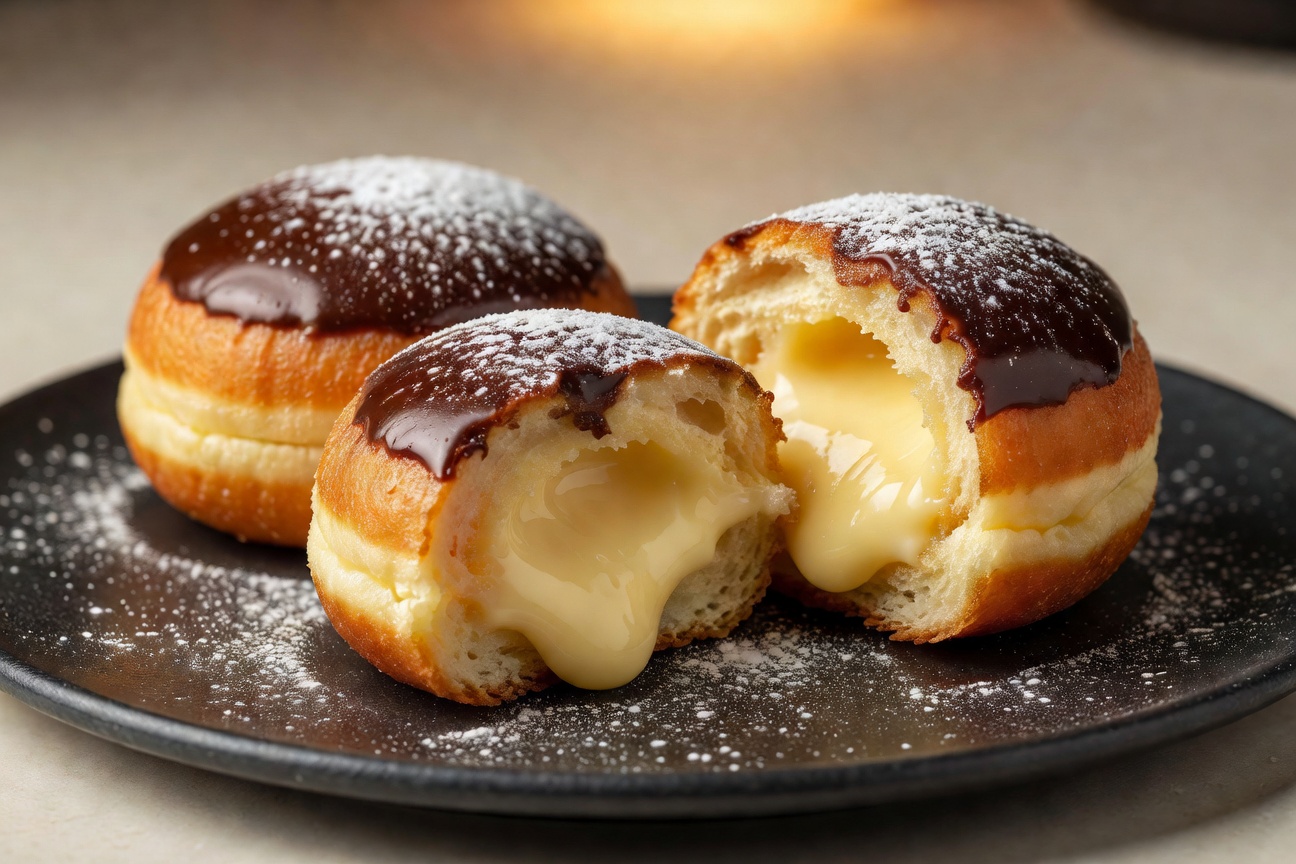
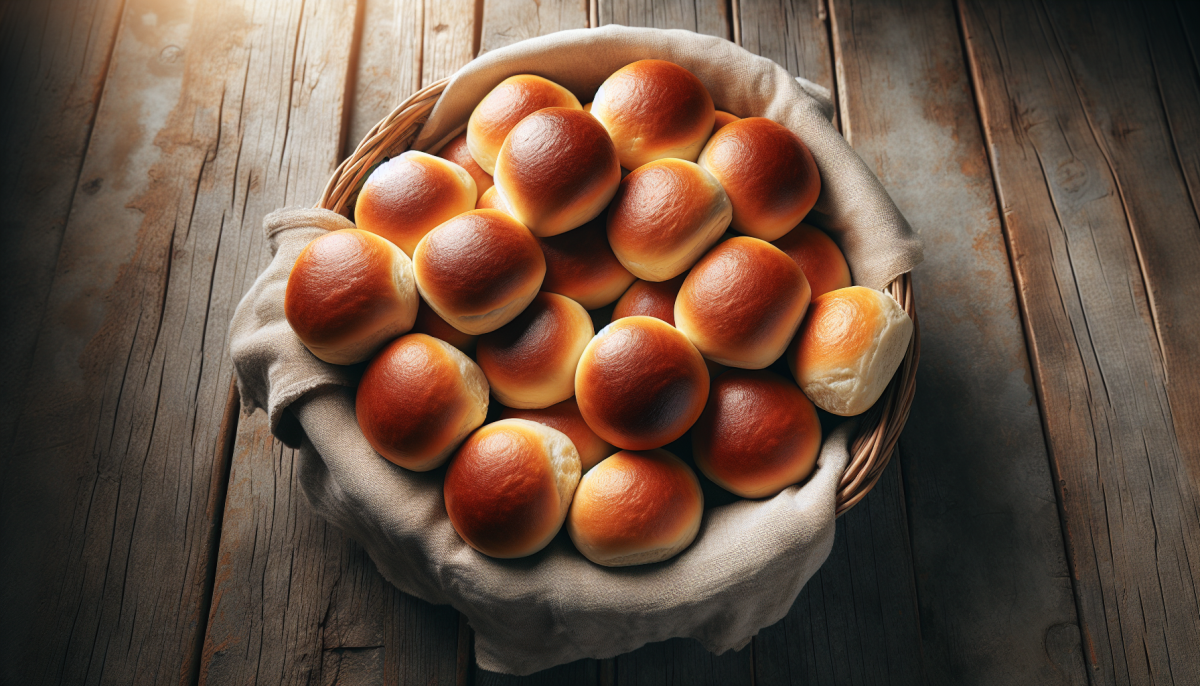
Boston Cream Sufganiyot — Custard-Filled Chocolate Donuts
Pillowy fried Hanukkah donuts filled with vanilla pastry cream and glazed with dark chocolate ganache. A dairy kosher…
-
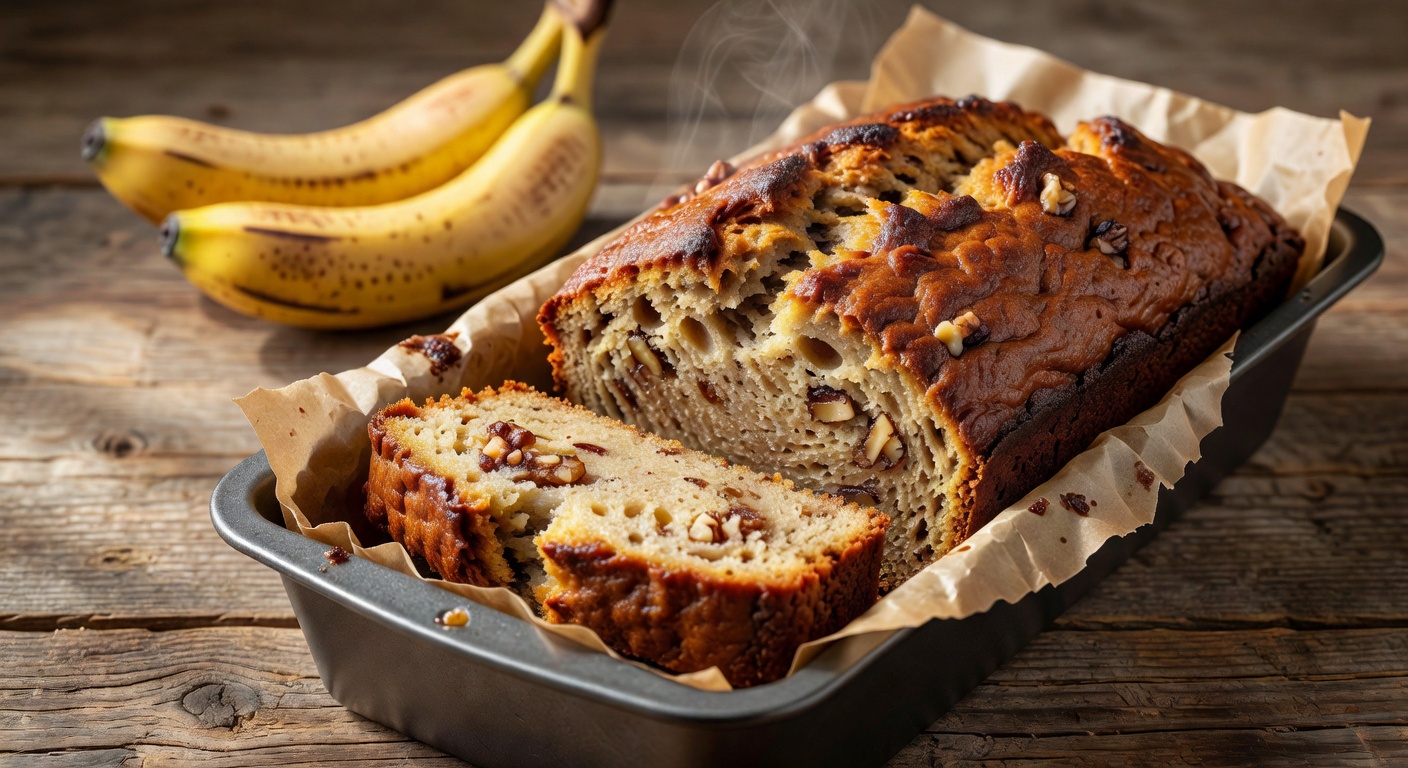
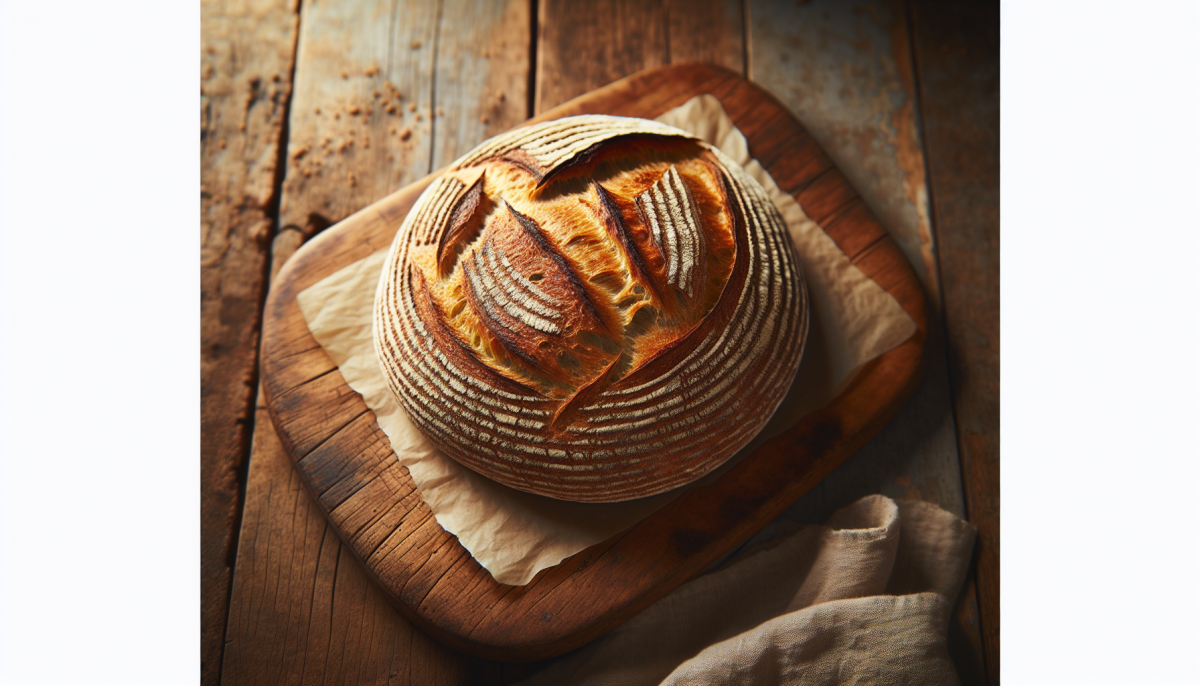
Banana Bread (Pareve, Kosher)
Moist pareve banana bread made with oil, not butter. One-bowl simplicity, perfect for using overripe bananas. Kosher and…
-
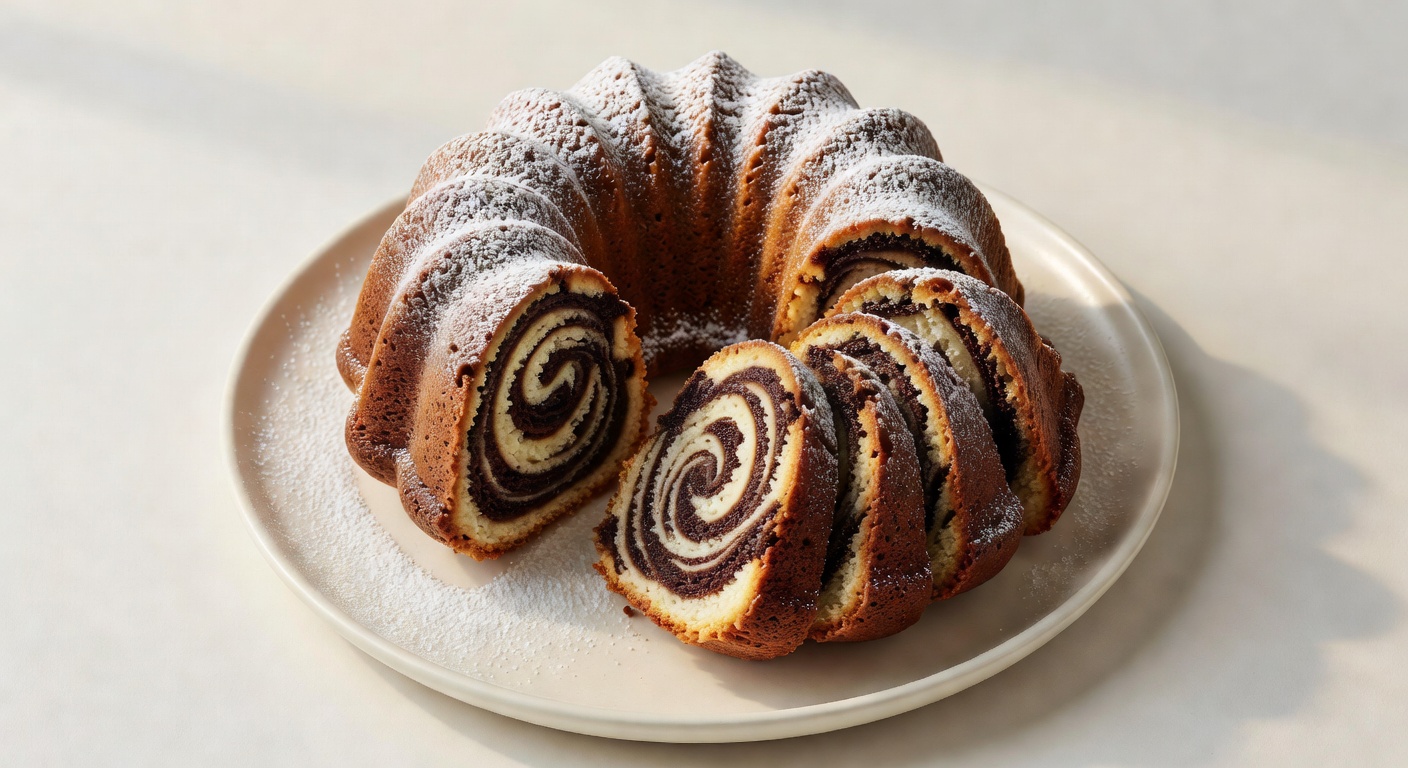
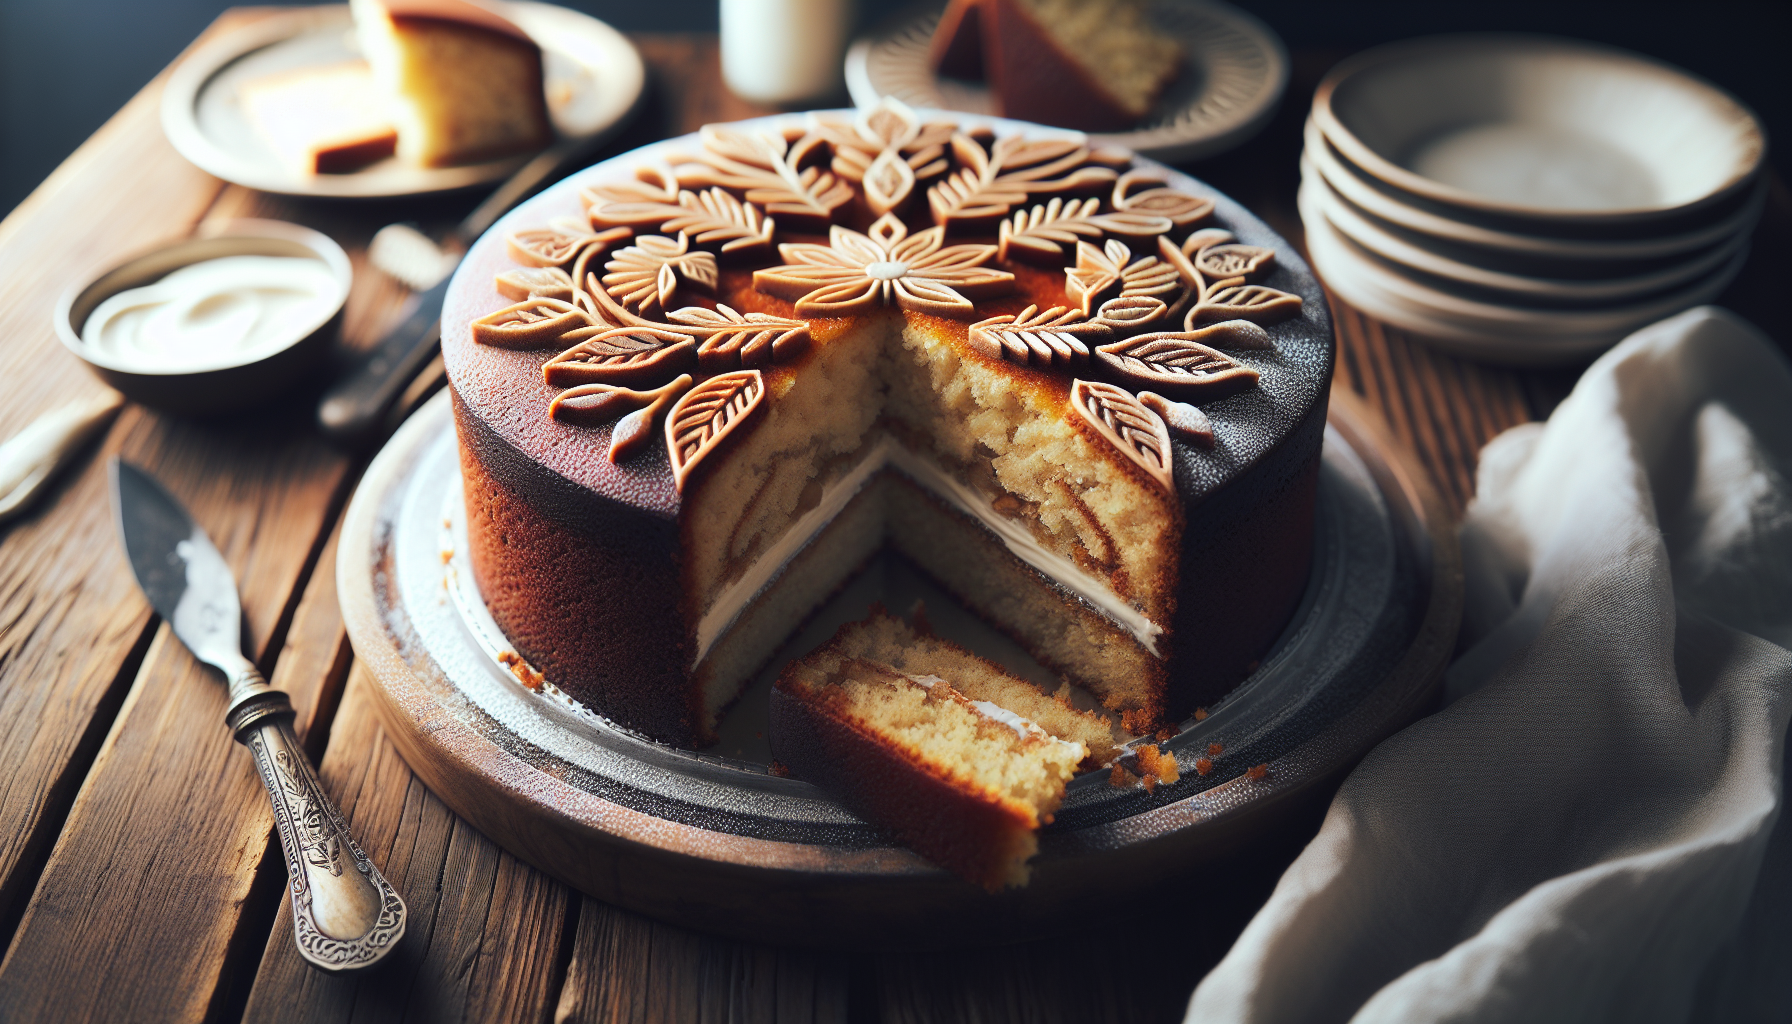
Jewish Marble Cake (Pareve)
Classic pareve marble cake with swirls of vanilla and chocolate. Oil-based, moist for days, and perfect after meat…
-
3 Clean Label Claims That Matter for Kosher Bakers
Novo Ingredients’ clean label dough system delivers 3 game-changing benefits for kosher bread production: ultra-low inclusion cost, 28-day…
-
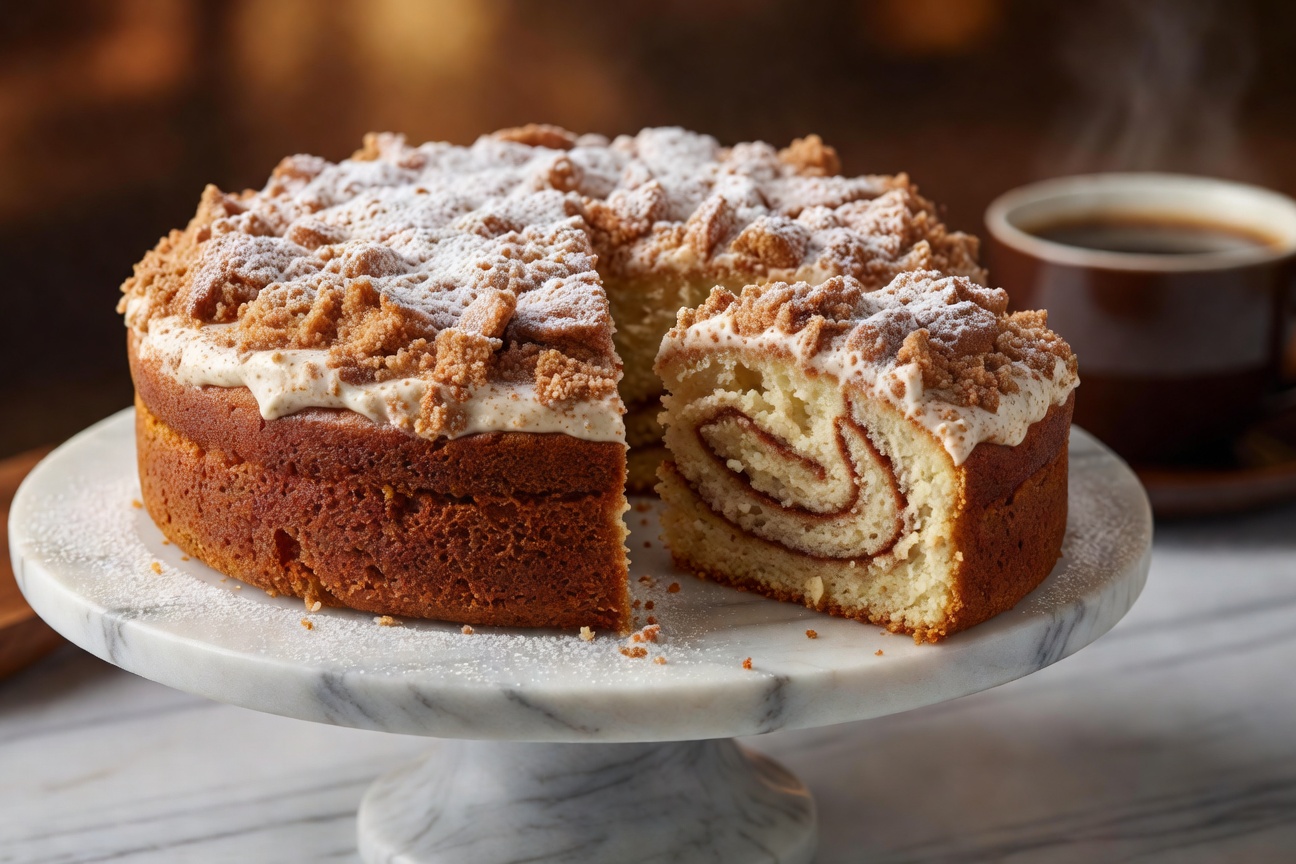
Jewish Coffee Cake (Sour Cream Crumb Cake)
Classic Jewish bakery sour cream coffee cake with a thick cinnamon streusel crumb. Tender, moist, and perfect for…
-

Noodle Kugel (Sweet Lokshen Kugel)
Classic sweet noodle kugel with egg noodles, sour cream, and cottage cheese, topped with cinnamon sugar. The beloved…
-
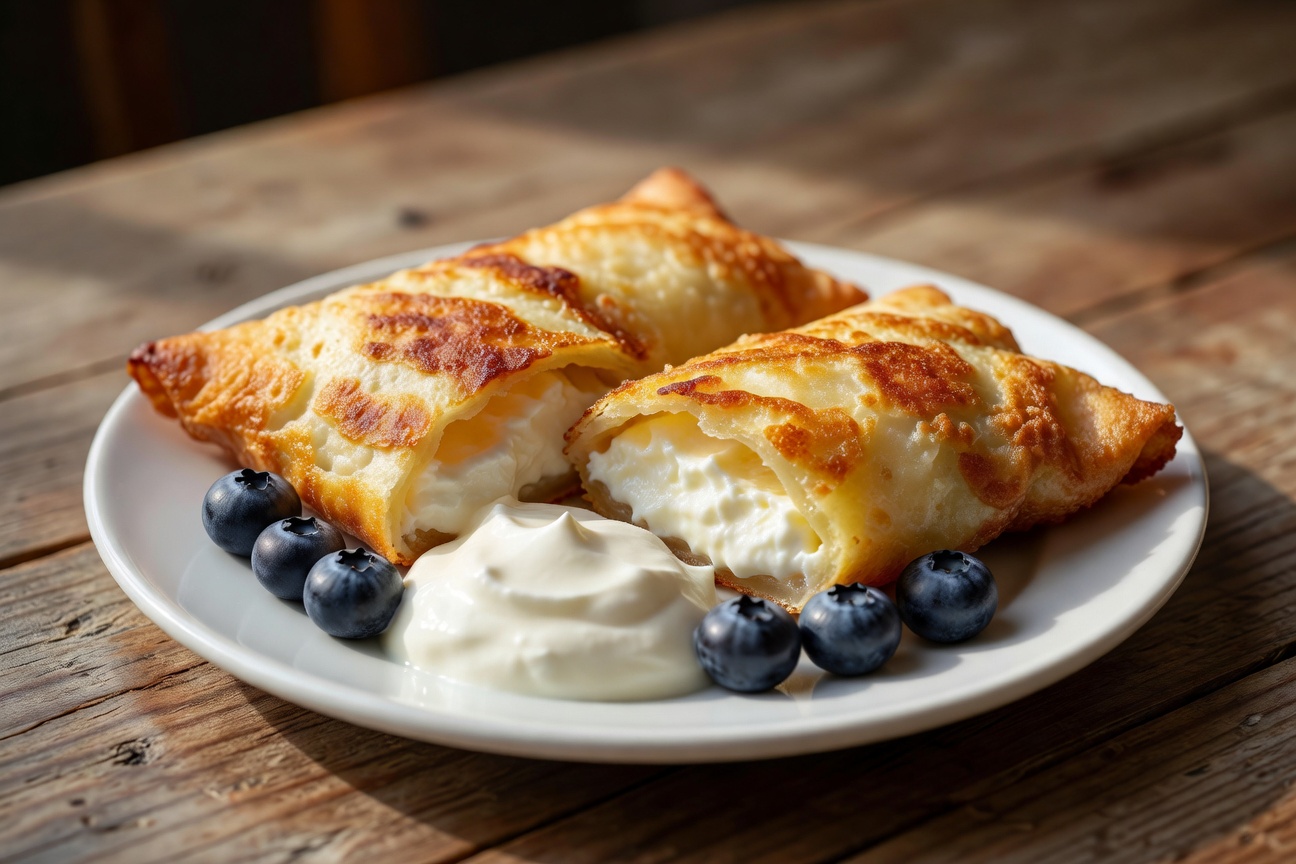
Cheese Blintzes (Kosher for Shavuot)
Classic cheese blintzes with paper-thin crepes and sweet farmer cheese filling, pan-fried in butter until golden. The essential…
-
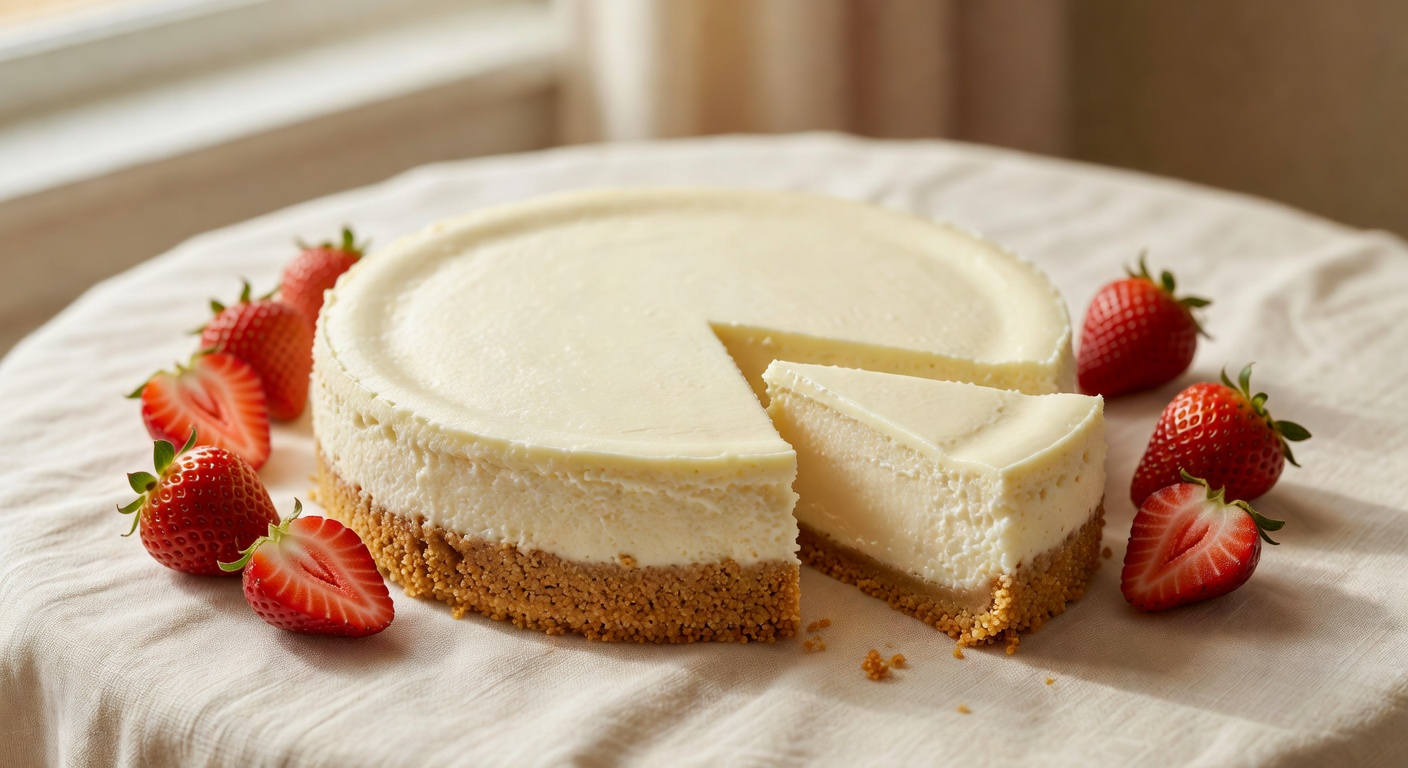
New York Cheesecake (Kosher for Shavuot)
Classic New York cheesecake with a buttery graham cracker crust. Rich, creamy, and crack-free. The essential kosher dairy…
-
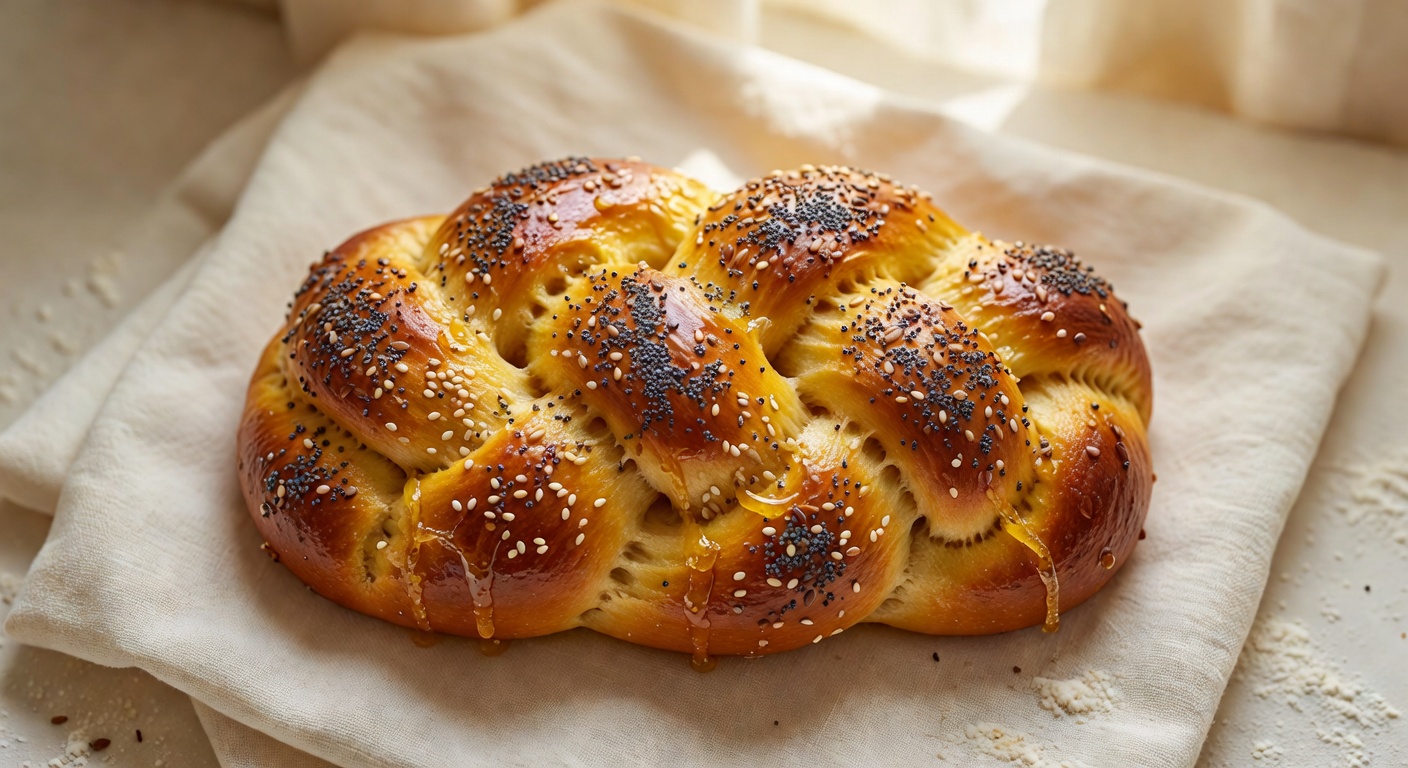
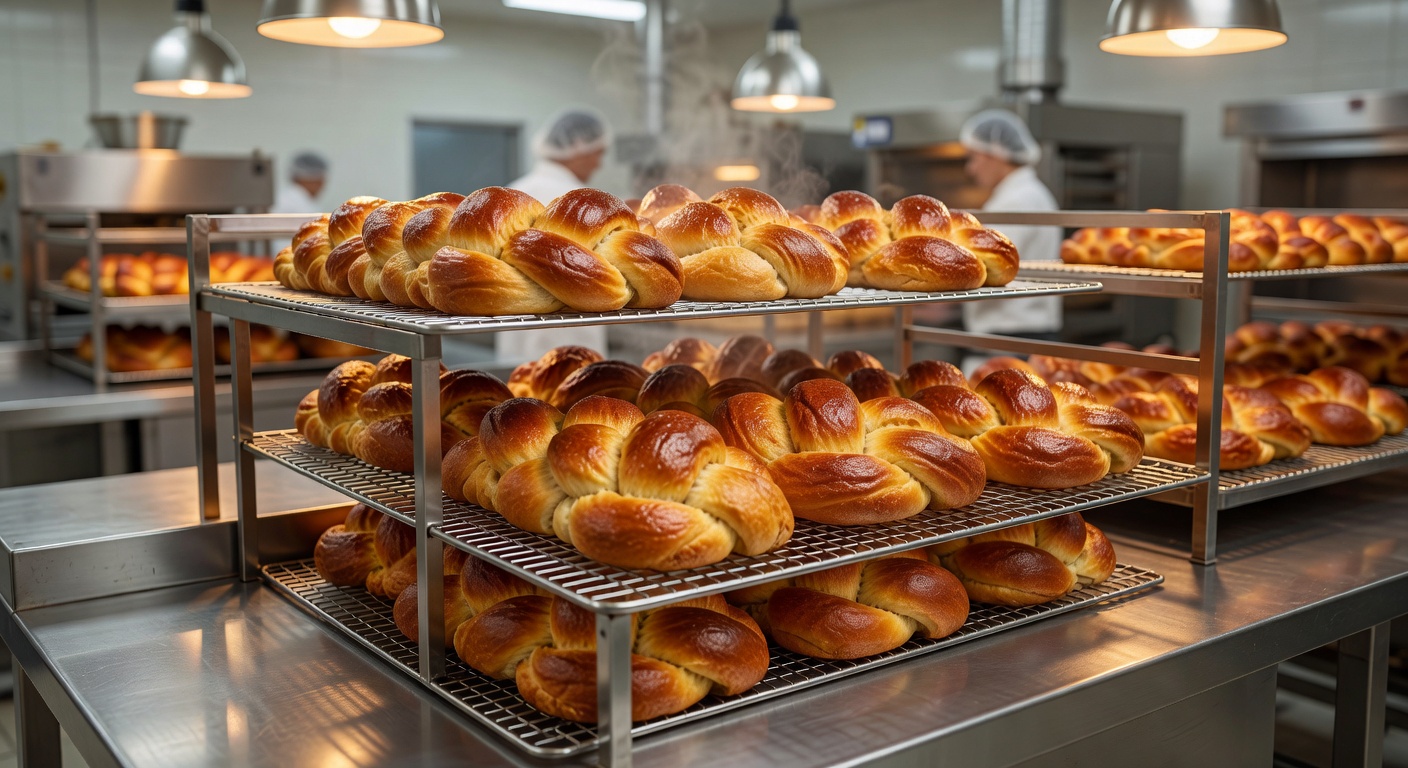
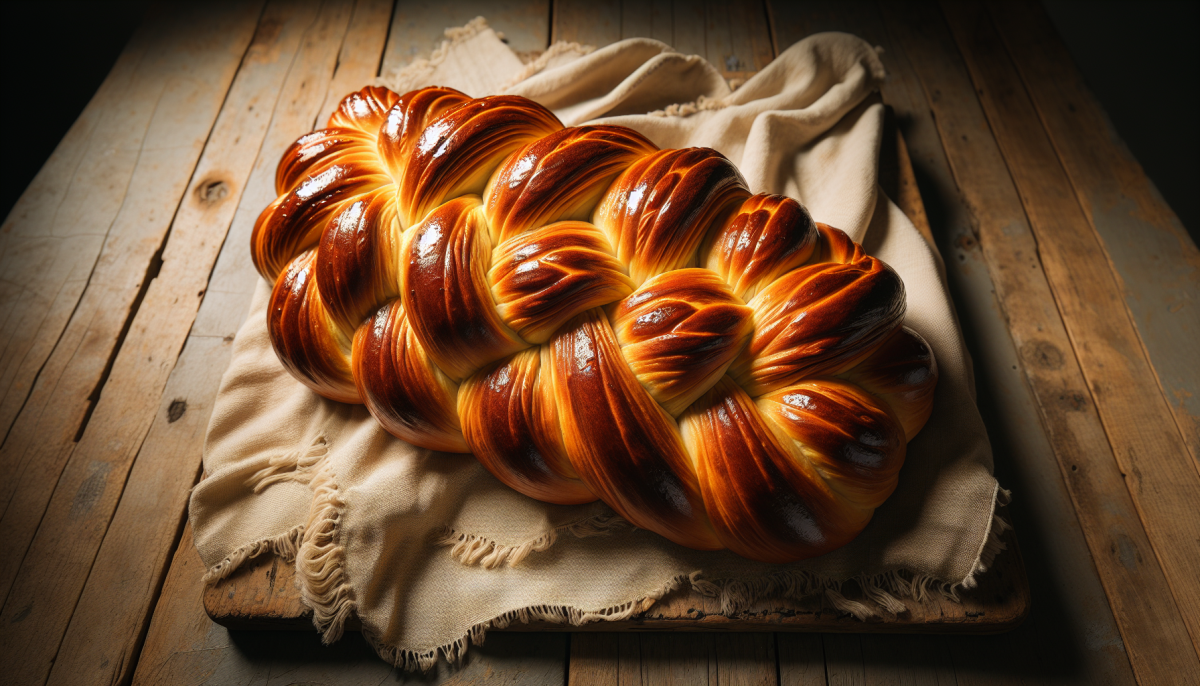
Celebration Challah — A 20th Anniversary Saffron Challah Recipe
A golden saffron-scented challah with honey glaze and mixed seed topping, created for Kosher Bread Pro’s 20th anniversary.…
-
Twenty Years of Kosher Baking — How One Challah Became 148 Recipes
In 2006, Kosher Bread Pro launched with one challah recipe. Twenty years later, we have 148 tested recipes…
-
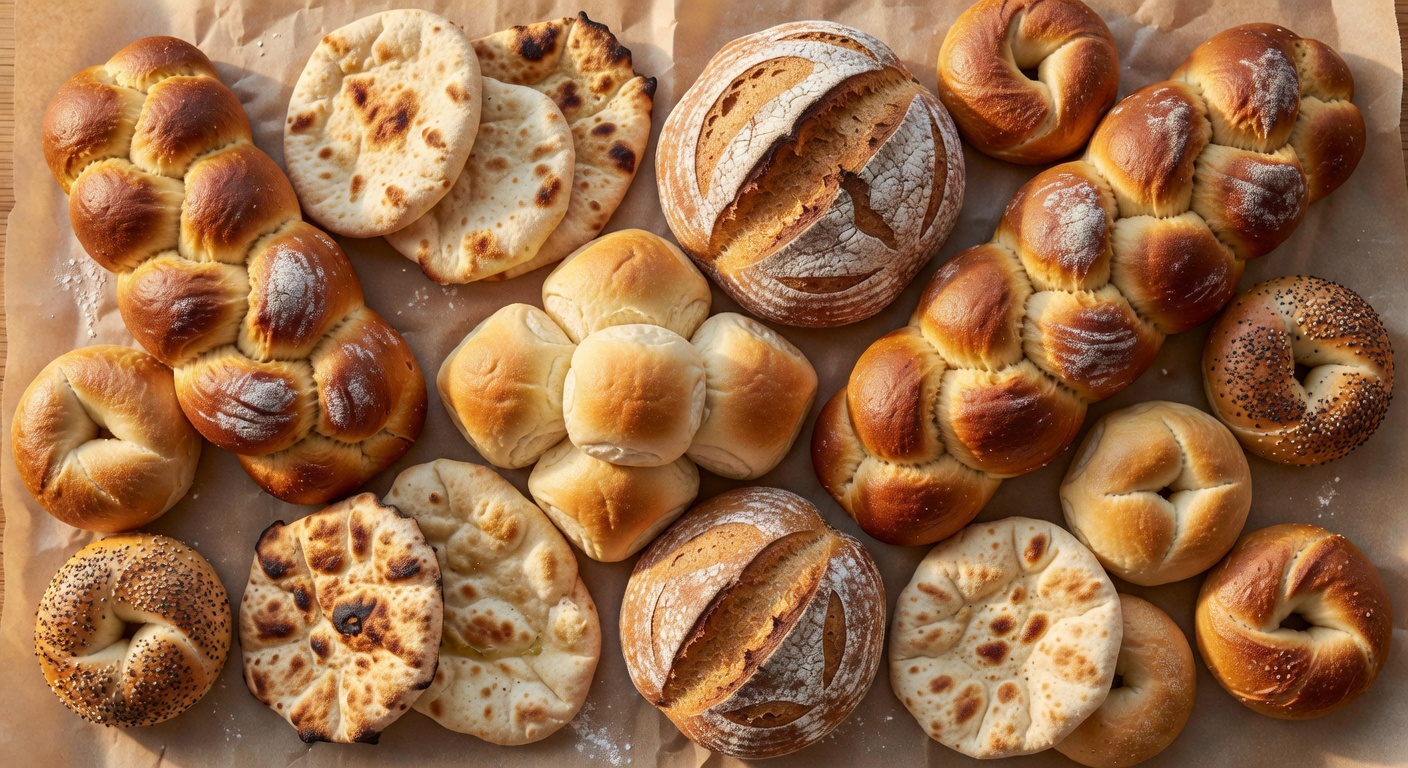
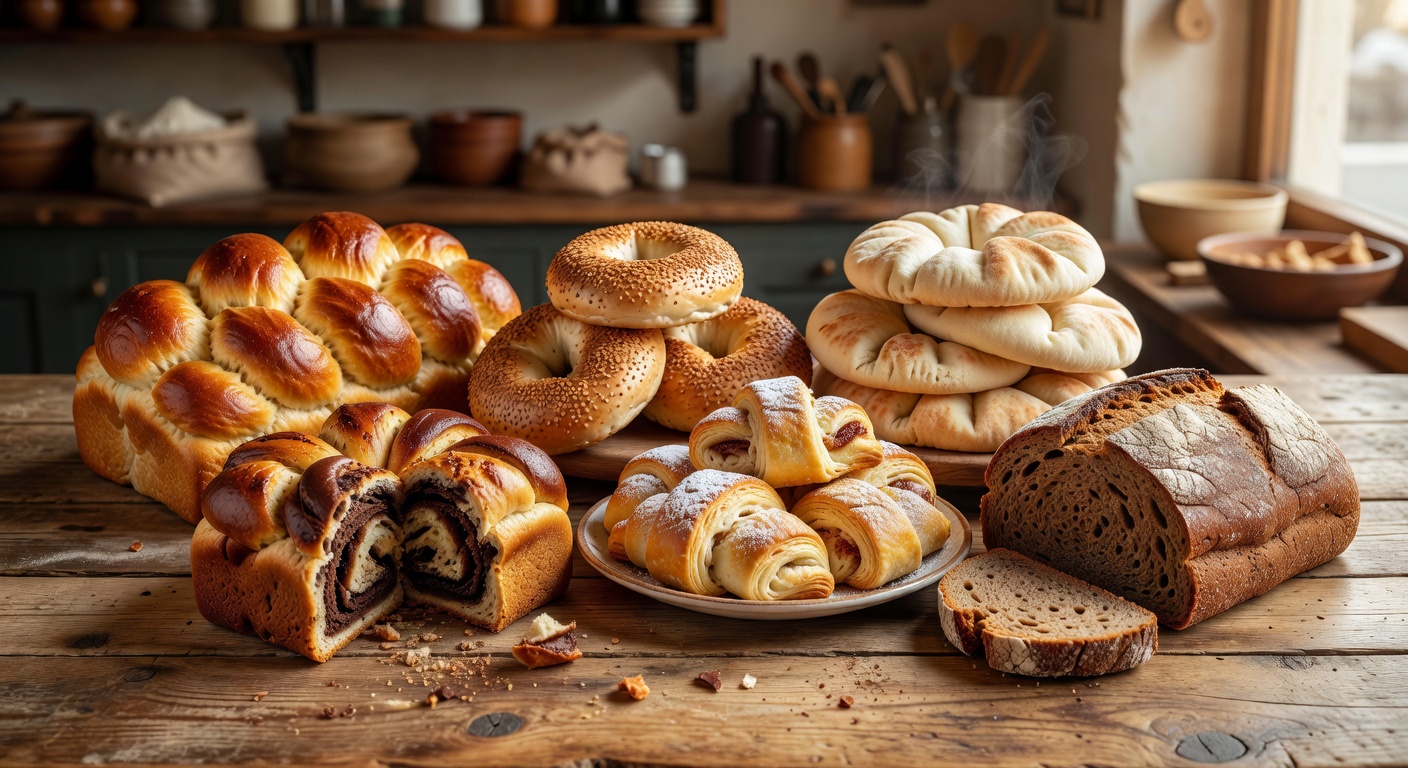
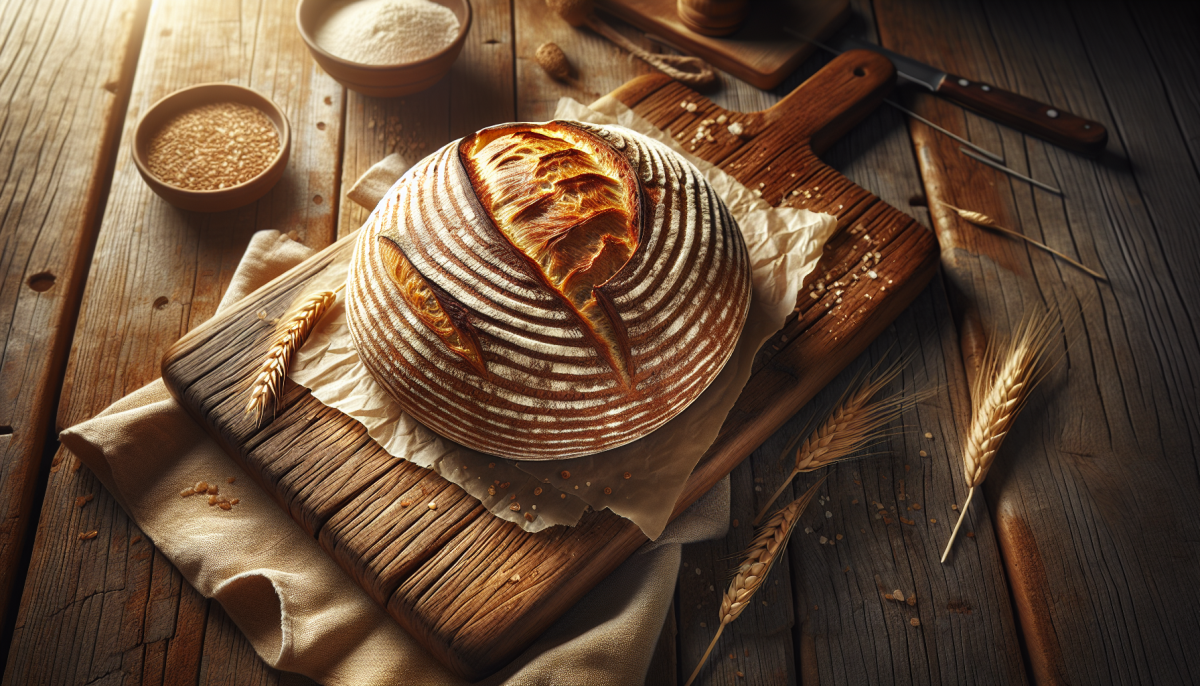
20 Breads That Define Jewish Baking — A 20th Anniversary Collection
One bread for each year of Kosher Bread Pro. From challah to kubaneh, babka to matzo — the…
-
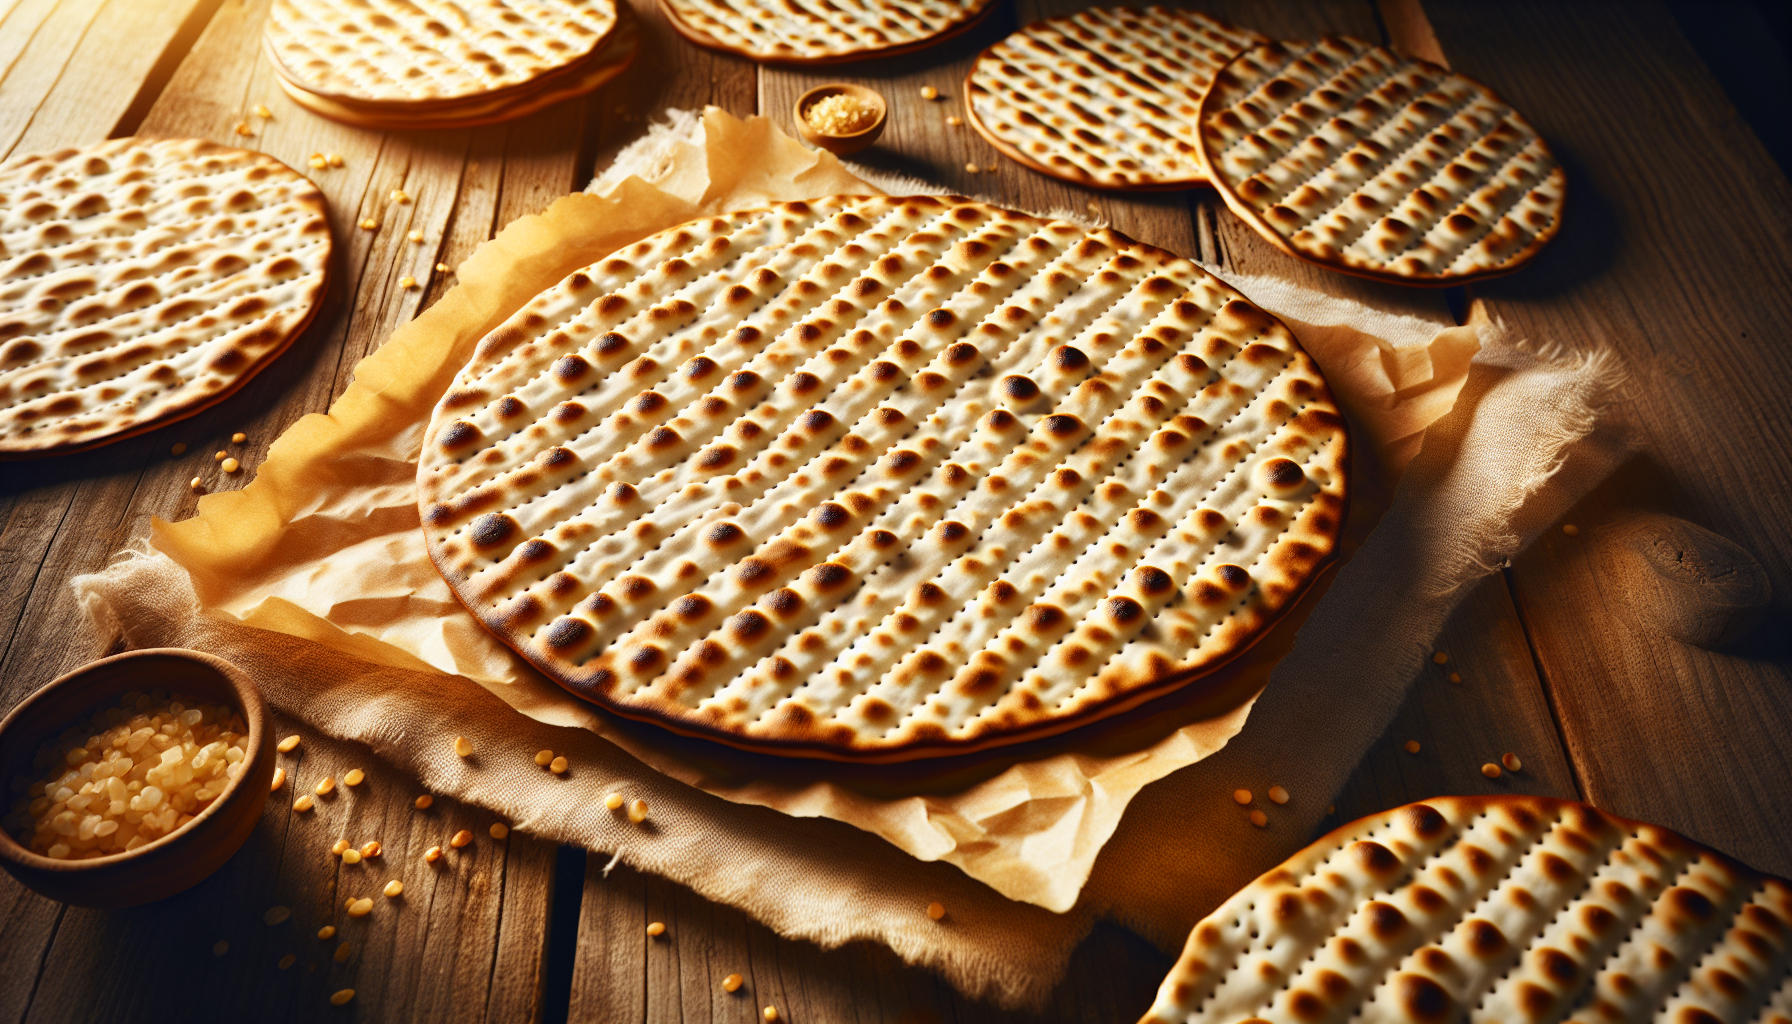
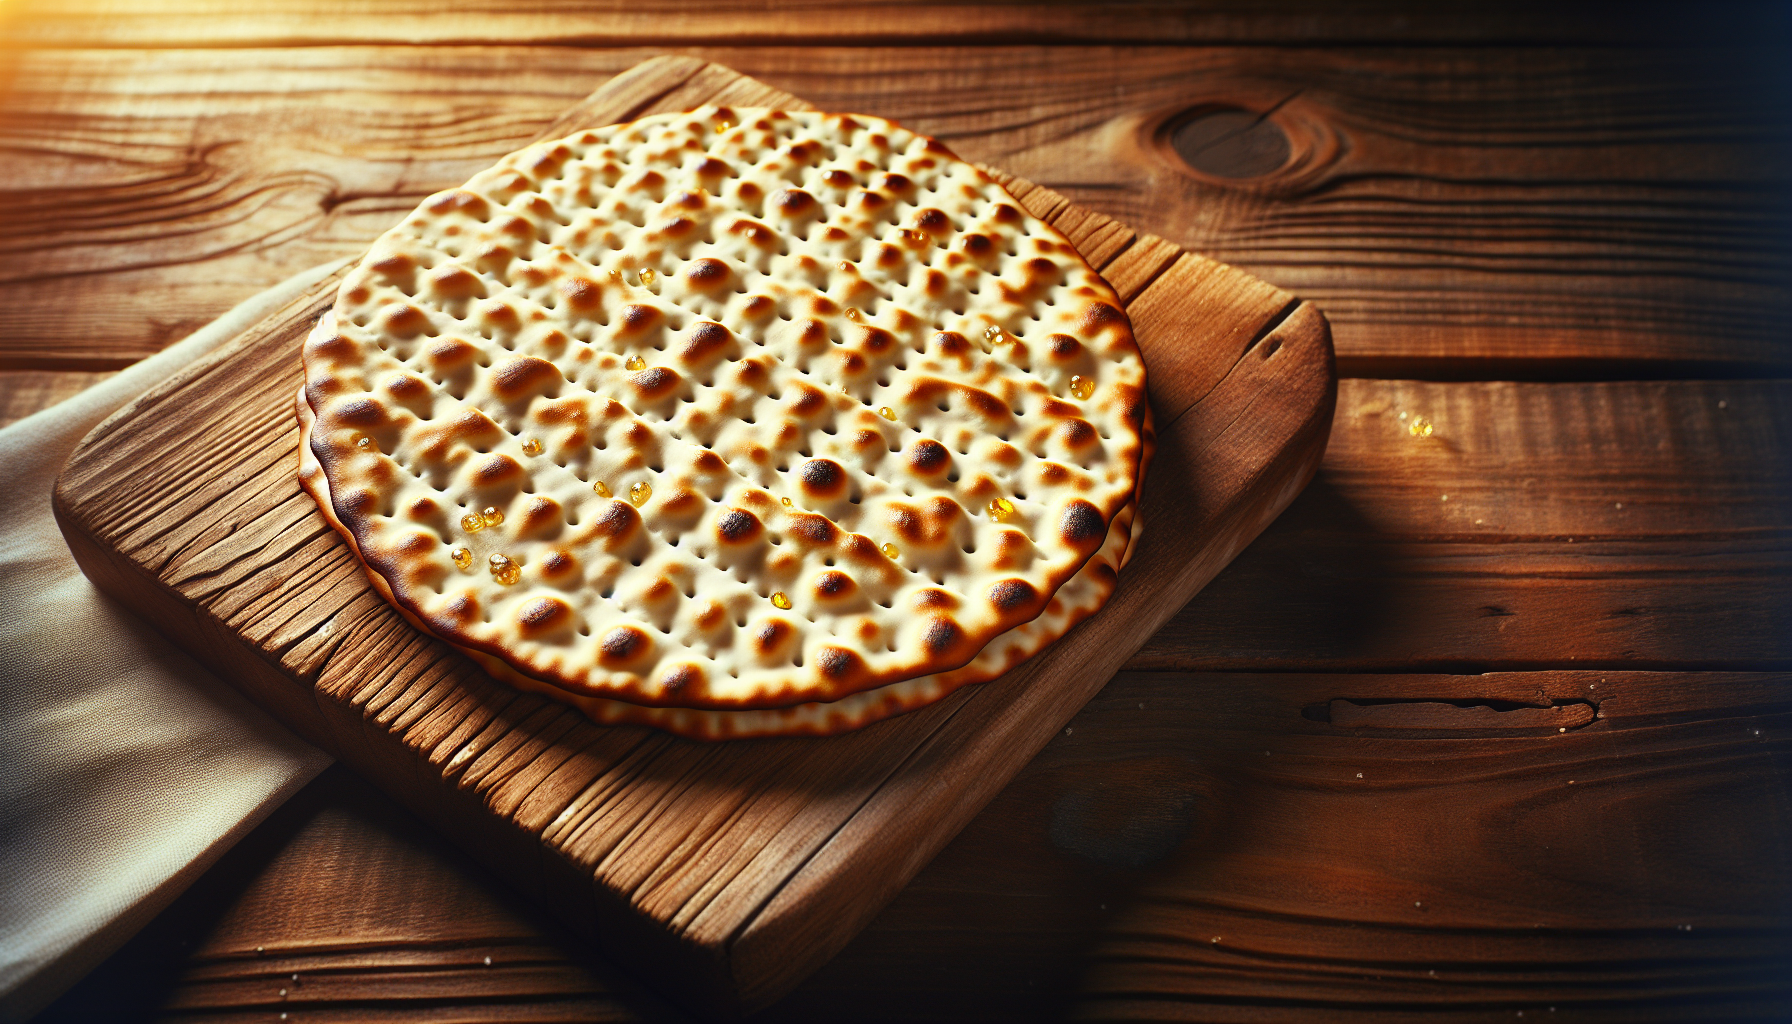
Matzo Brei (Fried Matzo with Eggs)
Classic Pesach breakfast — crispy fried matzo with eggs, sweet or savory. Both versions included. Gebrokts noted.
-
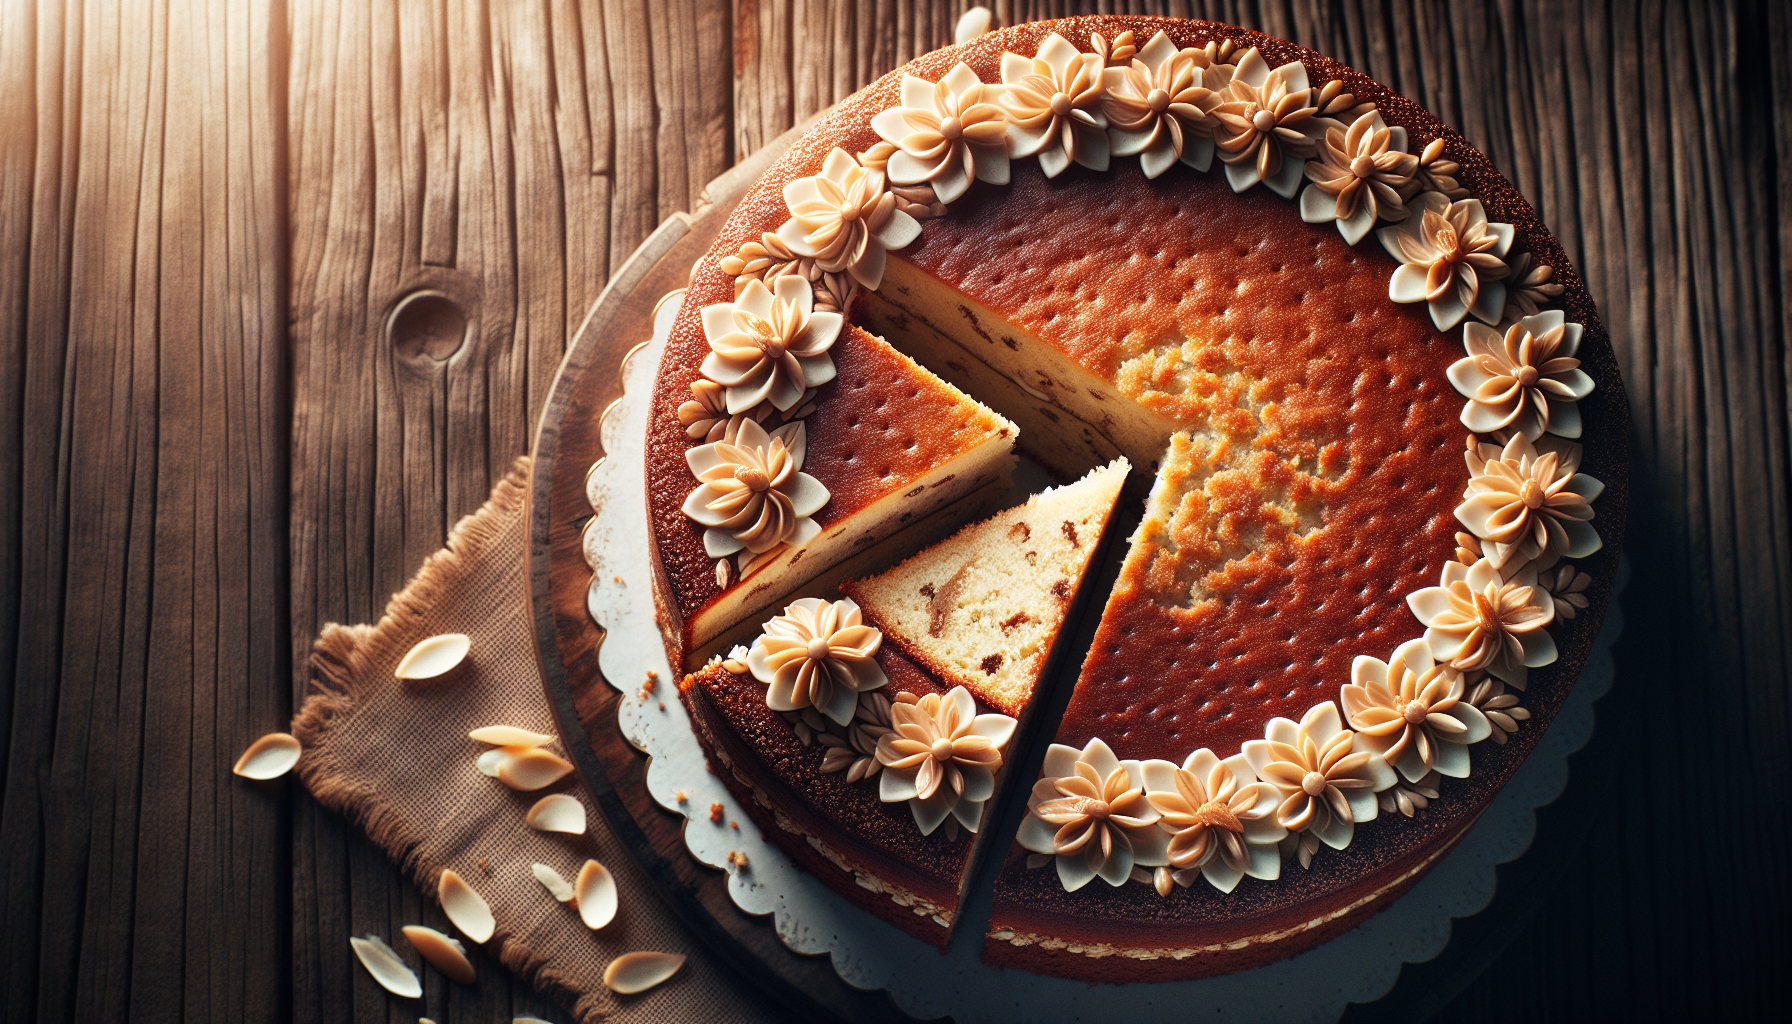
Pesach Sponge Cake (Kosher for Passover)
Tall, light, airy lemon sponge cake for Pesach — no flour, no baking powder, just whipped eggs. Gebrokts-free…
-
Chocolate Matzo Toffee (Matzo Crack)
Addictively crunchy matzo crack — caramelized toffee on matzo topped with chocolate. The viral Pesach treat. Easy to…
-

Coconut Macaroons (Kosher for Pesach)
Classic bakery-style coconut macaroons — golden crisp outside, chewy inside. Pareve, gluten-free, perfect for Pesach.
-
Flourless Chocolate Cake (Kosher for Pesach)
Rich, dense flourless chocolate cake — chametz-free for your Pesach seder. Pareve with coconut oil, dairy variation noted.
-

Gluten-Free Matzo Balls (Kosher for Pesach)
Light, fluffy gluten-free matzo balls that actually float. Made with GF matzo meal, potato starch, and schmaltz. Kosher…
-
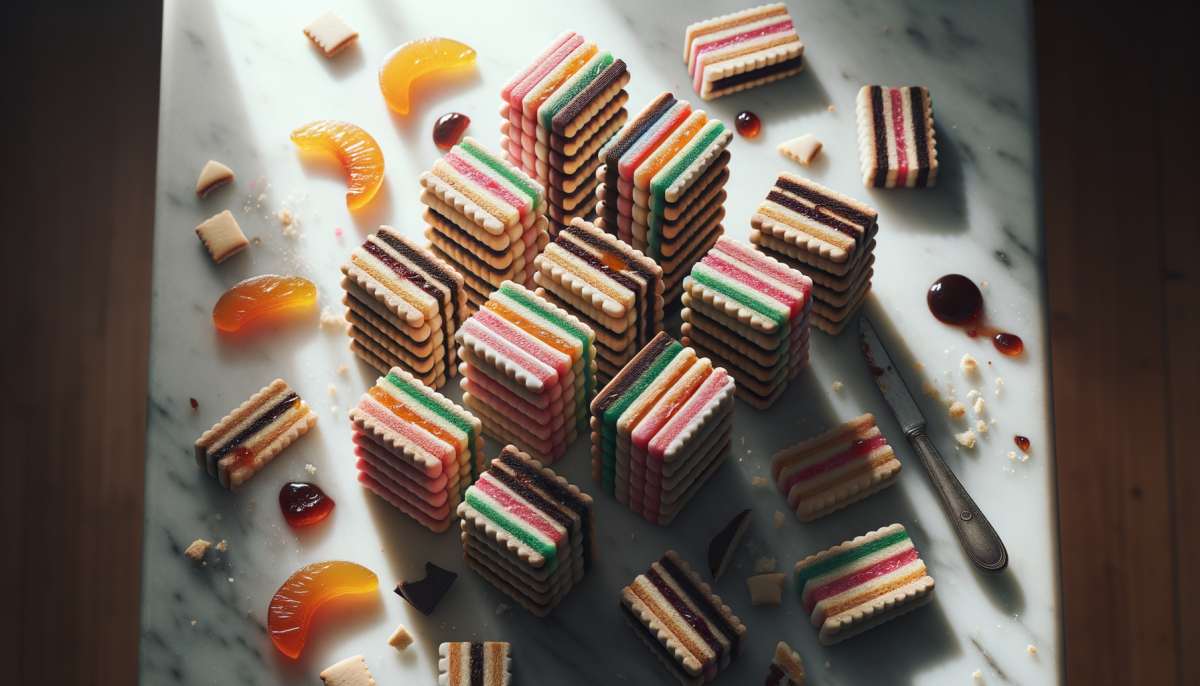
Passover Rainbow Cookies (Italian Tricolor)
Flourless Kosher for Passover rainbow cookies with almond paste, apricot jam, and chocolate coating. The iconic Jewish-Italian bakery…
-
Kiflice (Balkan Jewish Crescent Rolls)
Tender crescent pastries with walnut filling and powdered sugar dusting, from the Balkan Jewish baking tradition.
-
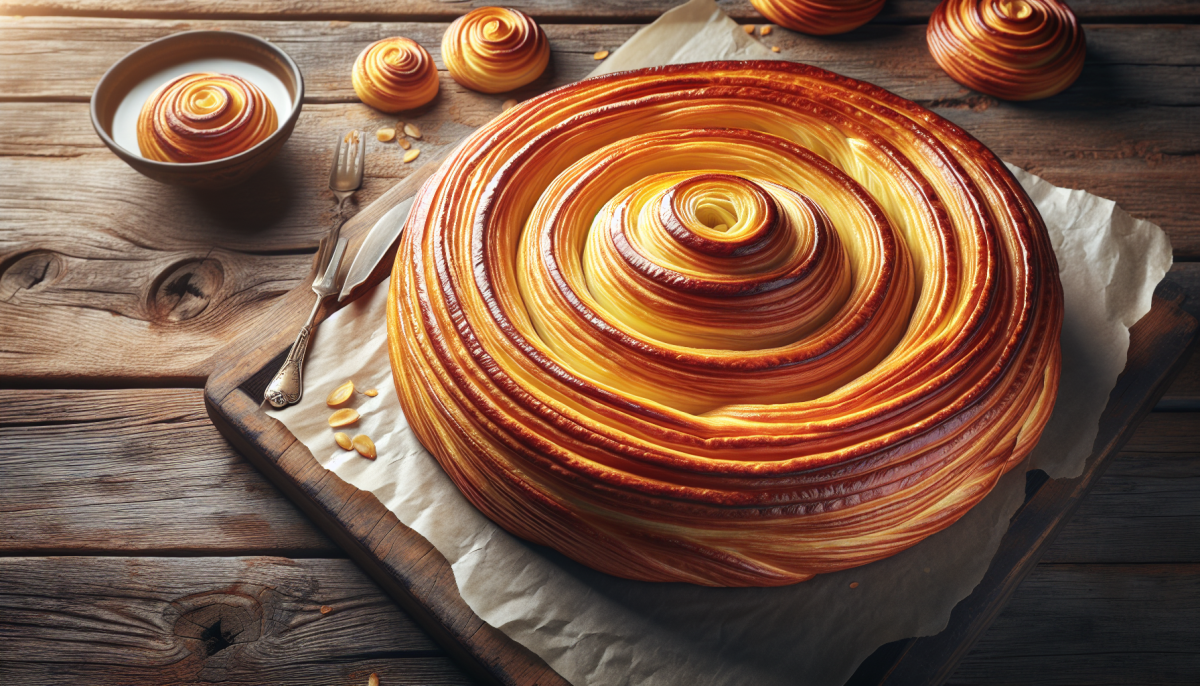
Bulemas (Sephardic Spiral Pastries)
Hand-stretched spiral pastries filled with smoky roasted eggplant and tangy cheese, from the Sephardic Turkish-Jewish tradition.
-
Fennel & Orange Challah
Aromatic challah braided with toasted fennel seeds and fresh orange zest. A Mediterranean-inspired twist on traditional Shabbat bread.
-
Cardamom Bread
Fragrant braided bread with freshly crushed cardamom, butter-enriched dough, and a sparkling pearl sugar topping.
-
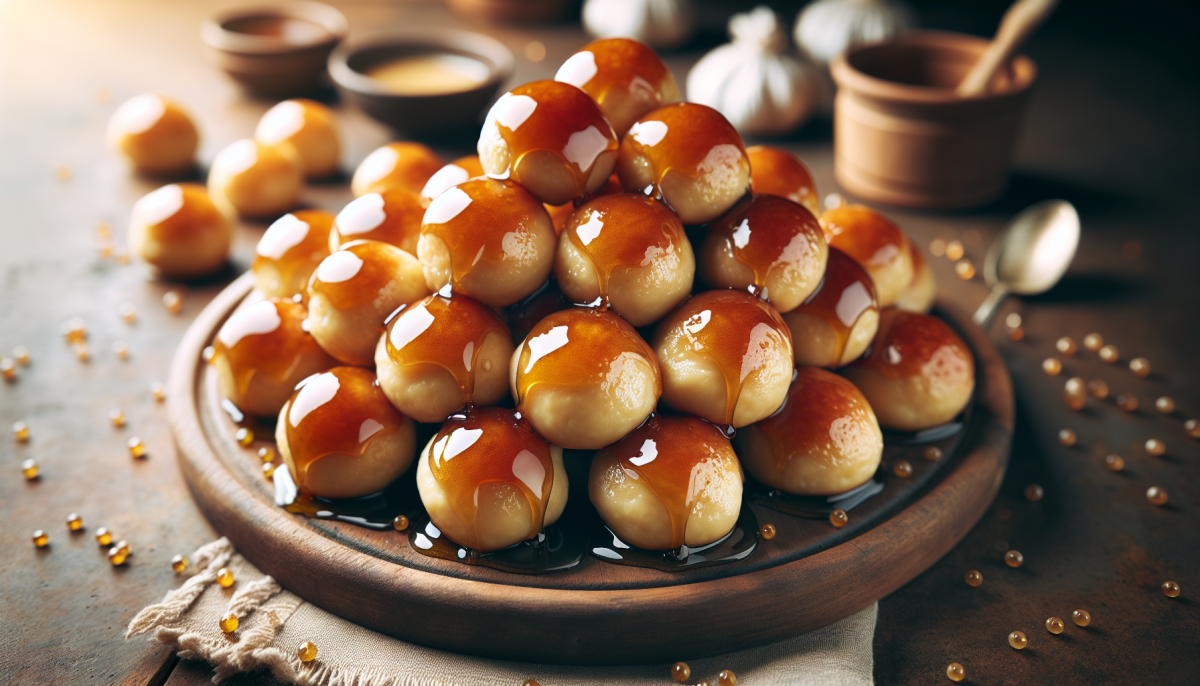
Teiglach (Honey Dough Balls)
Traditional Ashkenazi honey-cooked dough balls with walnuts, simmered until golden and caramelized. A classic Rosh Hashanah sweet.
-
Khachapuri (Georgian Cheese Bread Boats)
Georgian-Jewish cheese-filled bread boats with a runny egg cracked into molten cheese and stirred tableside. Dramatic and delicious.