Recipe Collection
148 tested kosher recipes with baker’s percentages and complete halachic guidance.
-

Kosher Pita Bread — Puffy Homemade Israeli Flatbread Recipe
Bake perfect puffy pita bread at home. Authentic Israeli-style with the oven technique that guarantees the pocket.
-
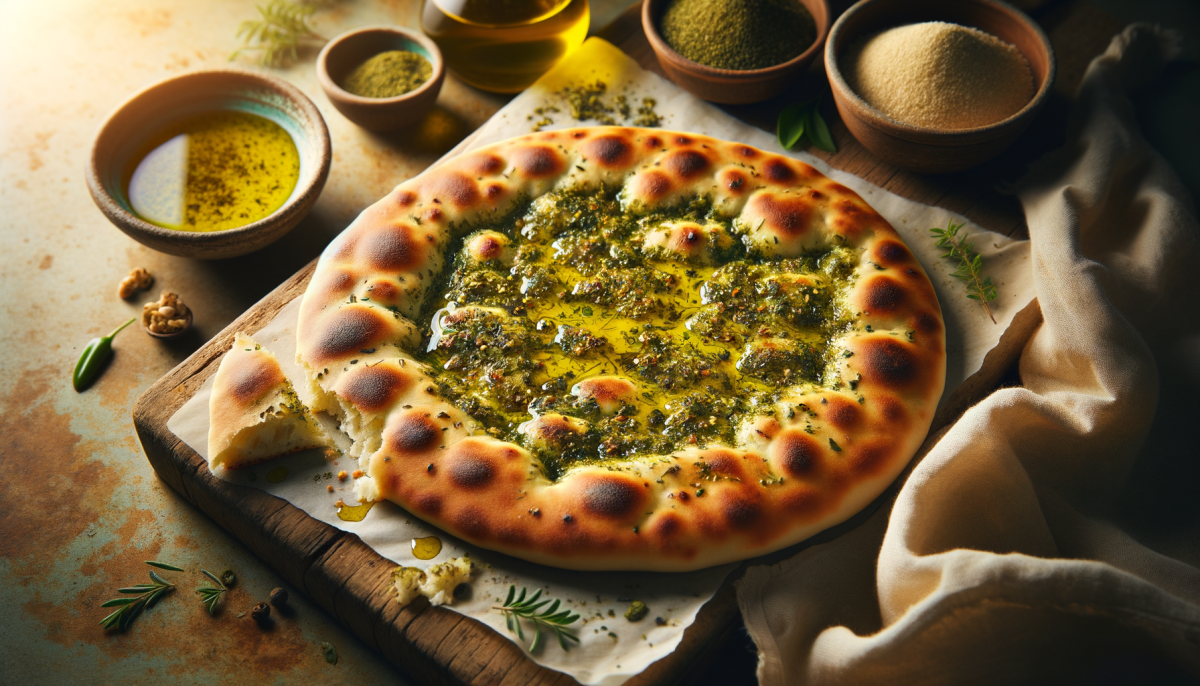
Judean Hills Za’atar Bread Recipe
Bake authentic za’atar bread from the Judean Hills. Artisan kosher flatbread with wild za’atar and cold-pressed olive oil.
-
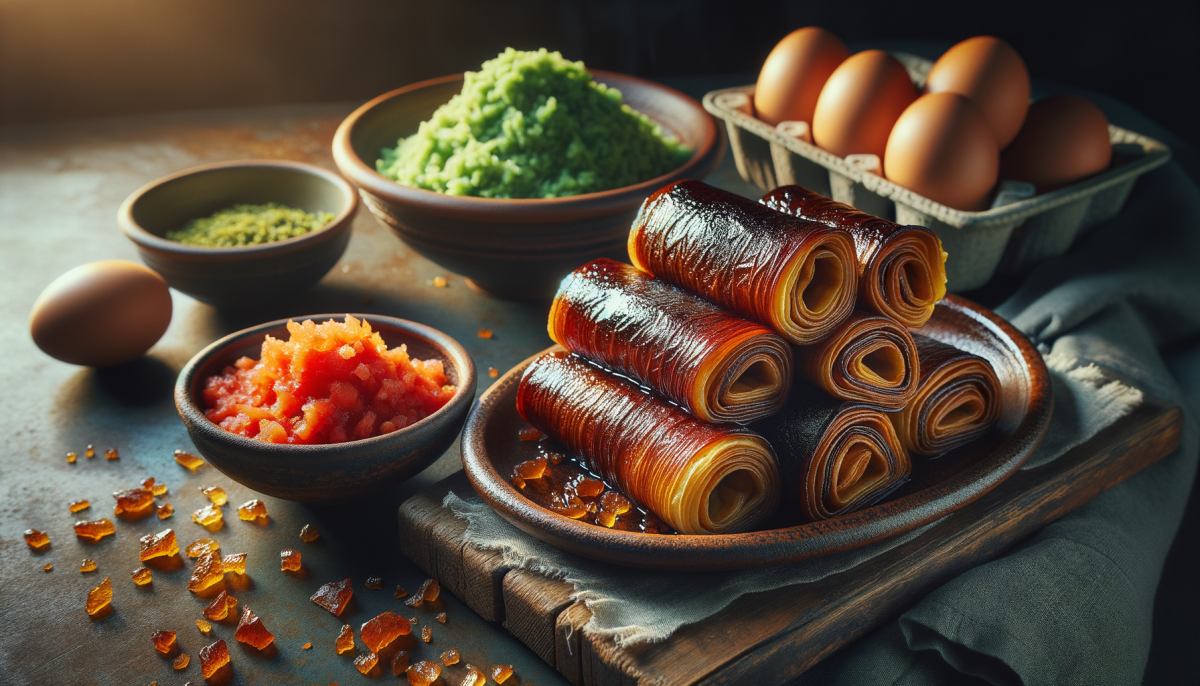
Jachnun Recipe — Flaky Yemenite Overnight Shabbat Pastry
Master authentic jachnun, the dark caramelized Yemenite Shabbat pastry. Flaky overnight-baked layers. Pareve option.
-

Kubaneh Recipe — Golden Yemenite Shabbat Pull-Apart Bread
Master authentic kubaneh, the golden Yemenite Shabbat bread. Slow-baked overnight with buttery pull-apart layers. Pareve.
-

Sufganiyot Recipe — Pillowy Hanukkah Donuts Filled with Joy
Master authentic sufganiyot at home. Pillowy, golden Hanukkah donuts filled with jam, custard, or chocolate. Step-by-step with kosher…
-
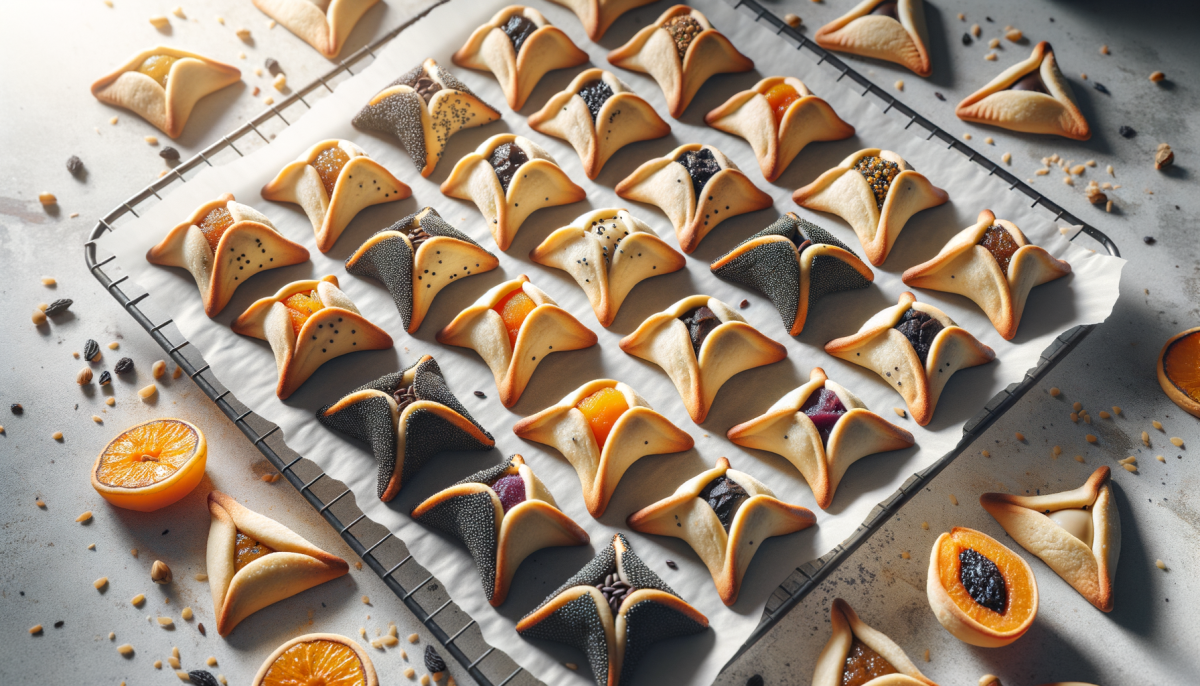
Hamantaschen Recipe — Classic Purim Cookies That Stay Closed
Master hamantaschen with two doughs, five fillings, and the pinching technique that keeps them closed. Dairy and pareve…
-
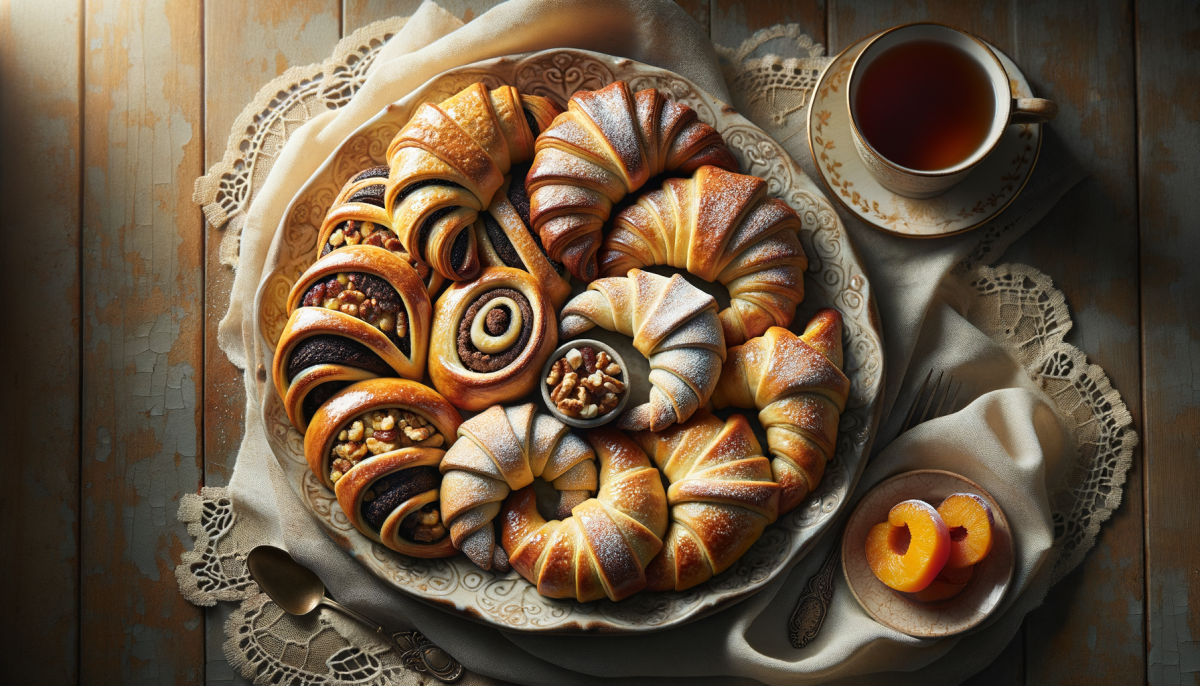
Rugelach Recipe — Flaky, Filled, and Perfectly Jewish
Master authentic rugelach with cream cheese or pareve dough, three filling options, and step-by-step shaping. 48 perfect crescents…
-

Sourdough Challah Recipe — Ancient Craft Bread
Master sourdough challah with no commercial yeast. Levain-leavened, honey-sweetened, pareve. Complete guide with bakers percentages and kosher guidance.
-
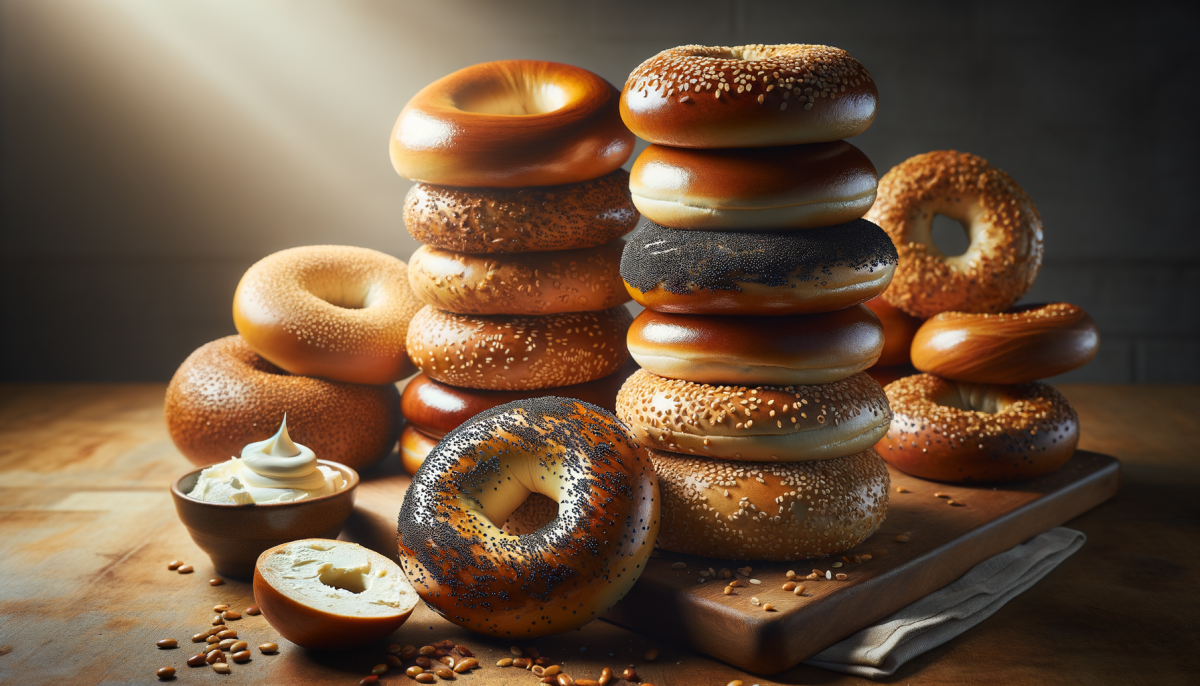
New York Bagel Recipe — Boiled, Chewy, and Perfectly Kosher
Master authentic New York-style bagels at home. Boiled, chewy, and perfectly kosher. Step-by-step recipe with bakers percentages and…
-
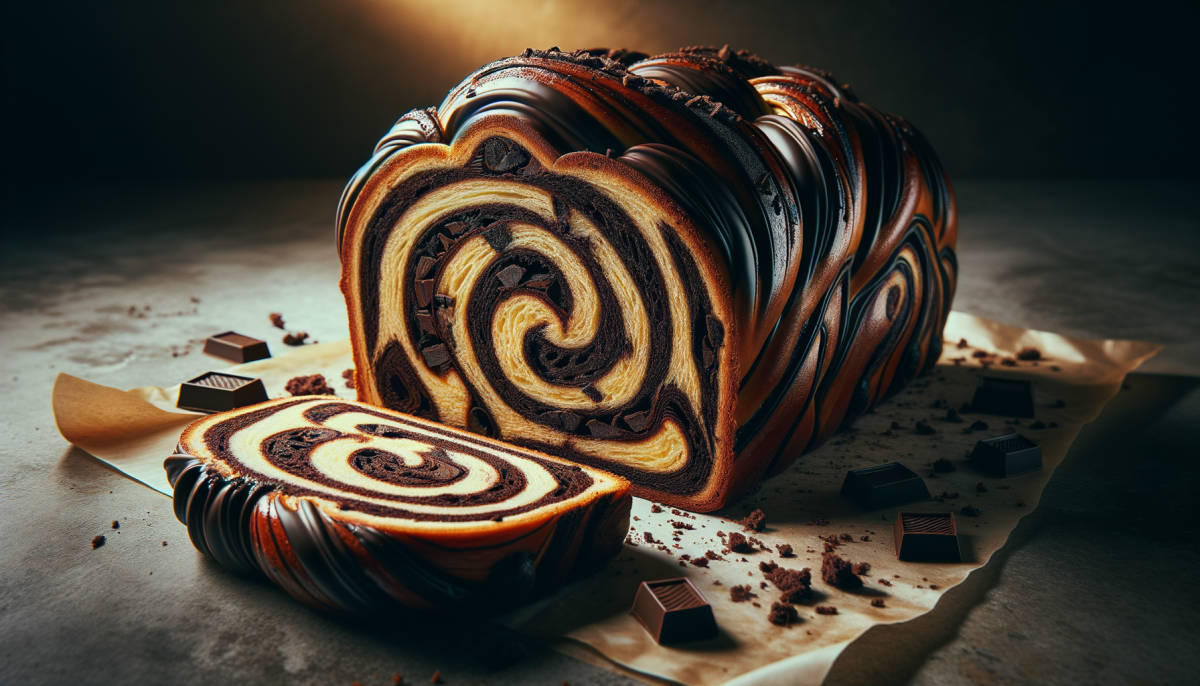
Chocolate Babka Recipe — Rich & Swirled
Master authentic chocolate babka with this pareve recipe. Rich brioche dough, dark chocolate swirl, sugar syrup glaze. Step-by-step…
-
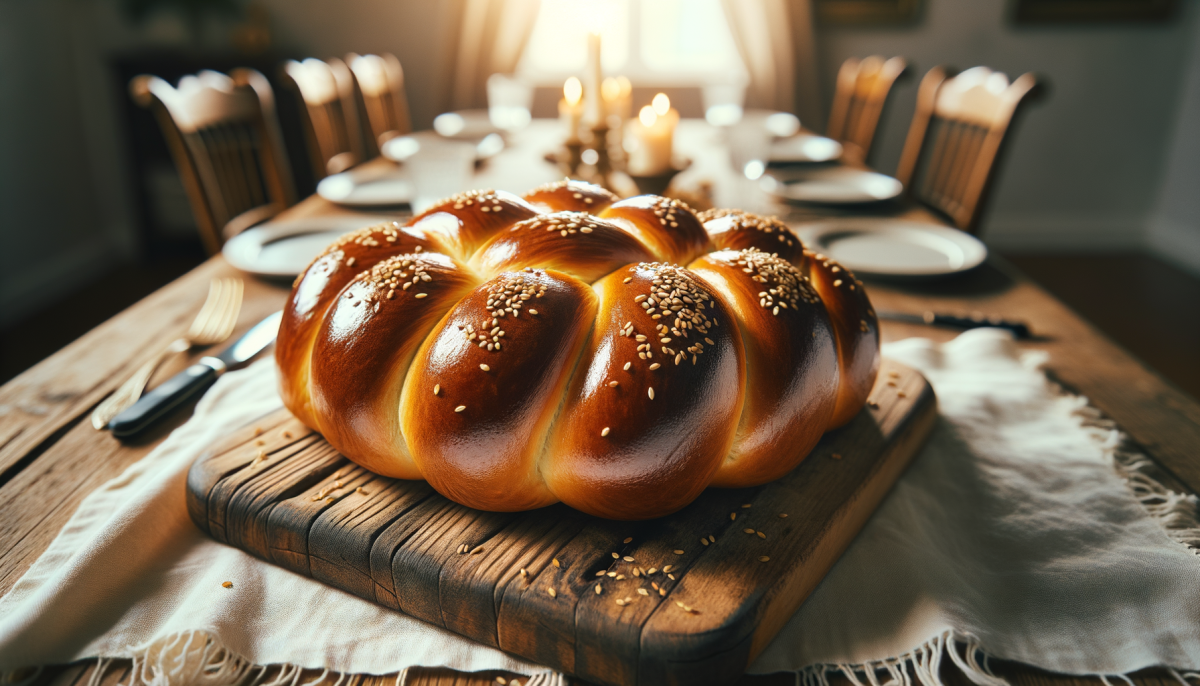
Classic Kosher Challah Recipe — The Perfect Shabbat Bread
Master the classic kosher challah with our expert recipe. Pillowy, golden braided bread with step-by-step 6-strand braiding, bakers…