Oil-Based • Egg • Contains Gluten • Dairy Variation Below
16–20 donuts
Intermediate
1 hour
3–4 hours
Mezonot
This sufganiyot recipe will make you forget everything you know about donuts. These are sufganiyot — and they carry 2,000 years of miracles in every bite.
Close your eyes and picture this: a pillow of warm, golden dough, impossibly light, yielding under the slightest pressure. You bite in and the center erupts — a bright ribbon of raspberry jam, or a slick of dark chocolate, or a cloud of silky vanilla custard. Powdered sugar drifts down your sleeve like snowfall. The kitchen smells of warm oil and sweetness and something ancient, something that connects this Hanukkah to every Hanukkah that came before.
Sufganiyot are Israel’s gift to the holiday table. While Ashkenazi Jews in the diaspora have long celebrated Hanukkah with crispy potato latkes, Israeli bakeries transformed the season into a national obsession with these filled, fried donuts — each one a reminder of the miracle of oil. The cruse that should have lasted one day burned for eight. We fry in oil to remember. We fill with sweetness to celebrate.
This recipe will give you sufganiyot that rival the best bakeries on Jaffa Road. Pillowy, never greasy. Golden, never pale. Filled to bursting, never hollow. You will never buy store-bought sufganiyot again.
This is the taste of Hanukkah. And this year, it is coming from your kitchen.
What Makes These Sufganiyot Special
Great sufganiyot depend on precision. The dough must be rich enough to stay tender through frying but structured enough to hold a clean round shape. The oil must be exactly the right temperature — too cool and the donuts turn greasy, too hot and the outside burns before the center cooks. Every decision in this recipe has been calibrated for one result: perfection.
- Enriched yeasted dough — eggs, oil (or butter), sugar, and a touch of vanilla and lemon zest create a dough that fries into something impossibly tender, with a fine crumb and a thin golden crust.
- Pareve as written, dairy variation included — the base recipe uses oil and water, making it suitable for any Hanukkah meal. A dairy version with butter and milk is noted for those who want extra richness.
- Deep frying technique, demystified — oil temperature is everything. We walk you through every degree, every visual cue, every timing detail so you can fry with confidence.
- Three filling options — classic jam, pastry cream custard, and chocolate ganache, each with step-by-step instructions.
- Baker’s percentages — for experienced bakers who want to scale precisely.
The Hanukkah Connection: Oil, Miracles, and Pirsumei Nisa
The tradition of eating fried foods on Hanukkah commemorates one of the most beloved miracles in Jewish history. When the Maccabees reclaimed and rededicated the Holy Temple in Jerusalem in 165 BCE, they found only a single cruse of pure olive oil — enough to keep the menorah lit for one day. Miraculously, that oil burned for eight days, long enough to prepare a new supply.
Frying sufganiyot in oil is an act of pirsumei nisa — publicizing the miracle. Every golden donut that emerges from the pot is a small, edible declaration: we remember, and we celebrate.
It is worth noting that sufganiyot are primarily an Israeli Hanukkah tradition. In many Ashkenazi diaspora communities, latkes (potato pancakes) are the iconic Hanukkah food, also fried in oil. Some families enjoy both — latkes for the savory course, sufganiyot for dessert. There is no wrong answer, only more miracles to remember.
In Israel, sufganiyot season is a phenomenon. Bakeries debut dozens of flavors — halva, dulce de leche, pistachio, passion fruit — and the country consumes an estimated 18 million sufganiyot each Hanukkah. This recipe gives you the foundation. Where you take it from here is your own tradition.
Kosher Observance & Halachic Notes
Kosher Classification: Pareve (as written)
The base recipe uses vegetable oil and water (no dairy), making it fully pareve. If you use the dairy variation (butter and milk), the sufganiyot become milchig (dairy) and may not be served with or after a meat meal. Similarly, filling with dairy custard renders the sufganiyot milchig regardless of which dough version you used.
Bracha: Mezonot
The bracha for sufganiyot is Mezonot, not HaMotzi. Because suffganiyot are deep-fried rather than baked, and because the dough is enriched with a significant proportion of sugar, eggs, and oil, they are classified as pas haba’ah b’kisnin (snack-type bread products). The after-bracha is Al HaMichya. If a person were to eat a very large quantity as a meal, some poskim hold that HaMotzi and Birkat HaMazon would apply, but this is uncommon with sufganiyot.
Hafrashat Challah
This recipe calls for 500 g of flour. In most Ashkenazi communities, the minimum quantity requiring separation of challah with a bracha is approximately 1,200–1,667 g of flour (depending on the posek). At 500 g, you are below the threshold for a bracha but some hold you should still separate challah without a bracha if the flour exceeds approximately 1,200 g. If you double or triple this recipe for a large Hanukkah party (1,000 g+ of flour), separate challah with the bracha as described in our Classic Challah recipe. Consult your rabbi for your community’s specific practice.
Frying Oil
The oil used for deep frying must bear a reliable hechsher (kosher certification). Most refined vegetable oils (canola, sunflower, peanut) from major brands carry certification. Check the label. Unrefined or specialty oils should be verified individually. The same oil should not be reused from frying non-kosher items.
Fillings: Check Every Ingredient
Jams and preserves must have a hechsher — many commercial brands do, but always verify. Chocolate and cocoa products require certification. If using dairy custard or cream fillings, the sufganiyot become milchig and must be clearly identified to avoid confusion at a fleishig meal. It is a good practice to label or separate dairy-filled sufganiyot from pareve ones.
Checking Eggs
Each egg must be cracked individually into a clear glass and inspected for blood spots before adding to the dough. If a blood spot is found, discard the entire egg.
Ingredients
Sufganiyot Dough — Pareve Version (Base Recipe)
| Ingredient | Grams | Volume | Baker’s % |
|---|---|---|---|
| Bread flour (unbleached, 12–13% protein) | 500 g | 3¾ cups | 100% |
| Granulated sugar | 65 g | ⅓ cup | 13% |
| Fine sea salt | 8 g | 1½ tsp | 1.6% |
| Instant (rapid-rise) yeast | 10 g | 1 Tbsp | 2% |
| Large eggs, room temperature (checked for blood spots) | 100 g | 2 large eggs | 20% |
| Large egg yolks, room temperature | 36 g | 2 yolks | 7.2% |
| Neutral vegetable oil (canola, sunflower, or peanut) | 45 g | 3 Tbsp | 9% |
| Warm water (38°C / 100°F) | 160 g | ⅔ cup | 32% |
| Pure vanilla extract | 6 g | 1½ tsp | 1.2% |
| Finely grated lemon zest | 4 g | ~1 lemon | 0.8% |
| Total Dough Weight | ~934 g | — | — |
Total hydration (water + eggs + yolks): ~59% — a moderately enriched dough that is soft and supple, perfect for frying.
Dairy (Milchig) Variation
For an even richer, more brioche-like donut, make the following substitutions:
- Replace the 45 g vegetable oil with 60 g unsalted butter, softened to room temperature. Add the butter in small pieces during the last 3 minutes of kneading.
- Replace the 160 g warm water with 160 g whole milk, warmed to 38°C (100°F).
Kosher note: The dairy version is milchig. Do not serve with or after a meat meal. Label clearly if serving alongside pareve sufganiyot at a gathering. All dairy ingredients must carry a reliable hechsher.
For Deep Frying
- 2–3 liters (2–3 quarts) neutral, high-smoke-point oil with a hechsher: canola, sunflower, or peanut oil
For Finishing
- Powdered (confectioners’) sugar, for dusting
Filling Option 1: Classic Jam (Pareve)
- 300 g (about 1 cup) high-quality seedless strawberry, raspberry, or apricot jam — must have a hechsher
- If the jam is very thick, warm it gently and stir in 1 Tbsp warm water for easier piping
Filling Option 2: Vanilla Pastry Cream / Custard (Dairy)
- 360 ml (1½ cups) whole milk
- 65 g (⅓ cup) granulated sugar
- 30 g (3 Tbsp) cornstarch
- 3 large egg yolks (checked for blood spots)
- 1 tsp pure vanilla extract
- 15 g (1 Tbsp) unsalted butter, cold
- Pinch of fine salt
Note: Custard filling makes the sufganiyot milchig (dairy) regardless of which dough version you used.
Filling Option 3: Chocolate Ganache (Dairy or Pareve)
- 150 g (5 oz) high-quality dark or semi-sweet chocolate (with hechsher), chopped
- 120 ml (½ cup) heavy cream (dairy) or full-fat coconut cream (pareve)
- Pinch of fine salt
Using coconut cream keeps the ganache pareve. Using dairy cream makes it milchig.
Equipment
- Stand mixer with dough hook (preferred) or large bowl for hand kneading
- Deep-fry or candy thermometer — non-negotiable for proper sufganiyot
- Heavy-bottomed pot or Dutch oven, at least 15 cm (6 inches) deep
- Kitchen scale (grams preferred)
- Rolling pin
- 3-inch (7.5 cm) round cutter (or a clean can or glass)
- Spider skimmer or slotted spoon
- Wire rack set over a sheet pan (for draining)
- Piping bag fitted with a bismarck tip (long, narrow tip) or a #230 round tip
- Parchment paper
- Clear glass or small bowl for egg checking
- Instant-read thermometer (for checking internal donut temperature)
Step-by-Step Instructions
Step 1: Prepare the Wet Ingredients
Crack each egg one at a time into a clear glass. Inspect for blood spots against the light. If clear, transfer to a medium bowl. Add the egg yolks, warm water (or warm milk for the dairy version), vanilla extract, and vegetable oil (or reserve butter for later if making the dairy version). Whisk until combined.
Step 2: Combine the Dry Ingredients
In the bowl of a stand mixer fitted with the dough hook, whisk together the bread flour, sugar, salt, instant yeast, and lemon zest. Keep the salt and yeast on opposite sides of the bowl to prevent direct contact before mixing.
Step 3: Mix to a Smooth, Elastic Dough
Pour the wet ingredients into the dry. Mix on low speed (speed 1–2) for 2–3 minutes until a shaggy, rough dough forms and no dry flour remains.
Increase to medium speed (speed 3–4) and knead for 8–12 minutes. You are looking for:
- A dough that pulls cleanly away from the sides of the bowl
- A surface that looks smooth, slightly glossy, and satiny
- A texture that is soft, supple, and slightly tacky — not sticky
- When you pull a small piece, it stretches into a thin, translucent membrane without tearing (the windowpane test)
For the dairy version: After 7 minutes of kneading on medium speed, begin adding the softened butter in 3–4 small pieces, waiting until each piece is incorporated before adding the next. Continue kneading for 4–5 more minutes until the dough is smooth again.
Hand kneading alternative: Turn the dough onto a very lightly floured surface and knead vigorously for 14–16 minutes using a stretch-and-fold technique. The dough will be soft and slightly sticky at first but will smooth out as gluten develops. Resist adding extra flour.
Step 4: Bulk Fermentation (First Rise)
Lightly oil a large, clean bowl. Shape the dough into a smooth ball and place it in the bowl, turning once to coat. Cover tightly with plastic wrap.
Let rise at room temperature (24–27°C / 75–80°F) for 1 to 1½ hours, or until the dough has doubled in volume.
How to tell it has doubled:
- The dough should be puffy, smooth, and dome above where it started.
- Press two floured fingers about 1 cm into the surface. If the indentations hold their shape and fill back very slowly, the first rise is complete.
- If the dough springs right back, give it 15–20 more minutes.
Step 5: Roll and Cut the Rounds
Turn the dough out onto a lightly floured work surface. Gently deflate by pressing with your palms — do not punch or knock the air out aggressively; you want to preserve some of the open structure.
Using a rolling pin, roll the dough to an even 1 cm (½-inch) thickness. Take your time and keep the dough uniform — uneven thickness means uneven frying.
Using a 3-inch (7.5 cm) round cutter, stamp out rounds as close together as possible to minimize scraps. Press the cutter straight down and lift cleanly — do not twist, which seals the edges and inhibits rising.
Re-rolling scraps: Gently gather the scrap dough, press it together (do not re-knead), and roll it out once more to 1 cm thickness. Cut additional rounds. Do not re-roll a second time — the dough will be overworked and the sufganiyot will be tough.
You should have 16–20 rounds total. Place them on parchment-lined sheet pans, spaced at least 3 cm (1 inch) apart.
Step 6: Second Proof — The Critical Step
This proof determines whether your sufganiyot are light and airy or dense and greasy. Pay close attention.
Cover the rounds loosely with plastic wrap or a lightweight towel. Let them proof at room temperature for 30–45 minutes, until they are visibly puffy and pillowy — they should look swollen and feel light when you slide a spatula underneath one.
The risks:
- Underproofed (less than 30 minutes): The sufganiyot will be dense and heavy, with a tight crumb. They will not puff properly in the oil.
- Overproofed (more than 50 minutes in a warm kitchen): The dough loses its structure. The sufganiyot will absorb too much oil, turning greasy and flat, and they may deflate or collapse during frying.
The sweet spot: The rounds should jiggle slightly when you tap the pan. When you press very gently with a floured fingertip, the indentation should fill back slowly. If it springs right back, wait. If it does not fill back at all, fry immediately — they are at the edge.
Step 7: Heat the Oil — Temperature Is Everything
Oil temperature management is the single most important factor in sufganiyot quality. Use a thermometer. Do not guess.
Pour 2–3 liters of oil into a heavy-bottomed pot or Dutch oven. The oil should be at least 8 cm (3 inches) deep — the sufganiyot need to float freely and be mostly submerged.
Heat over medium to medium-high heat until the thermometer reads 340–350°F (170–175°C).
Why this temperature range:
- Below 340°F (170°C): The dough absorbs oil like a sponge. You get heavy, greasy donuts with a pale, sad exterior.
- Above 360°F (182°C): The outside browns (or burns) before the inside cooks through. You get raw dough in the center.
- At 340–350°F (170–175°C): A thin, golden crust forms immediately, sealing the surface and preventing oil absorption. The interior steams and cooks through gently. This is the zone.
Oil choice: Use a neutral, high-smoke-point oil with a reliable hechsher. Canola oil (smoke point 400°F / 204°C), sunflower oil (smoke point 440°F / 227°C), and peanut oil (smoke point 450°F / 232°C) are all excellent choices. Peanut oil produces the crispest exterior. Avoid olive oil (too low smoke point, too strong a flavor) and coconut oil (solidifies on cooling).
Step 8: Fry the Sufganiyot
Set up your frying station: pot of hot oil on one side, a wire rack set over a sheet pan on the other (for draining), and a spider skimmer or slotted spoon within reach.
Working in batches of 3–4 sufganiyot at a time (do not crowd the pot — too many will drop the oil temperature), carefully slide each round into the oil using a spatula or your hands. Lower them gently; do not drop from height.
Fry for 2–3 minutes per side, until deep golden brown. Use the skimmer to flip them once, gently. They should puff up visibly in the oil, often developing a pale “belt” around the equator where the dough expanded — this is normal and desirable.
How to know they are done:
- The color is a deep, even golden brown on all sides — not pale gold, not dark brown.
- They feel light when lifted with the skimmer. A heavy sufganiya absorbed too much oil.
- An instant-read thermometer inserted into the center reads 190°F (88°C) or above.
Between batches: Allow the oil to return to 340–350°F (170–175°C) before adding the next batch. Adjust the burner as needed — the temperature will drop each time cold dough enters the pot. Skim out any floating bits of dough between batches to keep the oil clean.
Transfer fried sufganiyot to the wire rack. Do not drain on paper towels — the trapped steam underneath makes the bottoms soggy.
Step 9: Fill the Sufganiyot
Let the sufganiyot cool for 10–15 minutes — warm enough for the powdered sugar to cling, but cool enough to handle and fill without melting the filling.
Fit a piping bag with a bismarck tip (a long, narrow round tip designed for filling donuts — also called a #230 tip). Fill the piping bag with your chosen filling.
To fill:
- Using a chopstick, skewer, or the tip of a paring knife, poke a hole into the side of each sufganiya, through the pale “belt” at the equator. Push in about 2 cm (1 inch) to create a small cavity.
- Insert the bismarck tip into the hole.
- Squeeze gently and steadily until you feel the sufganiya grow slightly heavier in your hand — about 1–2 tablespoons of filling per donut. Do not overfill or the filling will burst out the other side.
- Withdraw the tip slowly while giving a final small squeeze to ensure the cavity is full.
Step 10: Dust and Serve
Place powdered sugar in a fine-mesh sieve and dust it generously over the filled sufganiyot. Do this while they are still slightly warm — the residual heat helps the sugar adhere.
Serve immediately. Sufganiyot are at their absolute peak within the first 2–3 hours of frying — the crust still faintly crisp, the interior pillowy and warm, the filling bright and luscious. This is the moment. Do not wait.
Gather your family around the table. Light the menorah. Take a bite. Powdered sugar on your chin, jam on your lip. This is Hanukkah.
Filling Recipes
Vanilla Pastry Cream (Dairy — Milchig)
Make this before you start the dough — it needs time to chill.
- In a medium saucepan, heat 300 ml of the milk over medium heat until steaming (do not boil).
- In a separate bowl, whisk together the egg yolks, sugar, cornstarch, salt, and remaining 60 ml of cold milk until smooth.
- Slowly pour the hot milk into the egg mixture in a thin stream, whisking constantly (this is tempering — it prevents the eggs from scrambling).
- Pour the entire mixture back into the saucepan. Cook over medium heat, whisking constantly and vigorously, until the custard thickens dramatically and begins to bubble — about 2–3 minutes. It should be very thick, like pudding.
- Remove from heat. Whisk in the butter and vanilla extract until smooth and glossy.
- Transfer to a bowl, press plastic wrap directly onto the surface (to prevent a skin from forming), and refrigerate for at least 2 hours, until fully chilled and set.
Chocolate Ganache (Dairy or Pareve)
- Place the chopped chocolate and salt in a heatproof bowl.
- Heat the cream (or coconut cream) in a small saucepan until just simmering — small bubbles around the edges.
- Pour the hot cream over the chocolate. Let stand for 2 minutes without stirring.
- Stir gently from the center outward until completely smooth and glossy.
- Let cool to room temperature, then refrigerate for 30–60 minutes until thick enough to pipe but still squeezable. It should have the consistency of thick mayonnaise.
Storage Notes
- Same day (best): Sufganiyot are best eaten within 3–4 hours of frying. The crust softens and the dough absorbs oil over time.
- Room temperature: Unfilled sufganiyot can be stored in an airtight container at room temperature for up to 1 day. Re-crisp in a 180°C (350°F) oven for 3–4 minutes before filling and serving.
- Refrigerate filled sufganiyot: If using custard or ganache filling, refrigerate leftovers and consume within 24 hours. Bring to room temperature for 20 minutes before eating.
- Freezing (unfilled only): Cool completely, then freeze on a parchment-lined tray until solid. Transfer to a freezer bag. Freeze for up to 2 weeks. Thaw at room temperature, re-crisp in the oven, then fill fresh.
- Do not freeze filled sufganiyot — the filling will make the dough soggy upon thawing.
Troubleshooting Guide
| Problem | Likely Cause | Solution |
|---|---|---|
| Greasy, heavy sufganiyot that feel oil-soaked | Oil temperature too low; dough was overproofed; too many donuts crowded the pot (dropped the temperature) | Maintain 340–350°F (170–175°C) at all times. Use a thermometer. Fry in small batches of 3–4. Do not overproof the dough. |
| Raw or doughy center | Oil temperature too high (outside cooked too fast); dough was rolled too thick; sufganiyot were too large | Lower the oil temperature. Roll to exactly 1 cm (½ inch). Use a 3-inch cutter, not larger. Check internal temp — should be 190°F (88°C). |
| Sufganiyot deflated or collapsed during or after frying | Overproofed dough — the gluten structure broke down and could not hold shape | Proof for 30–45 minutes maximum. Watch the clock. In a warm kitchen, they may be ready in 25 minutes. |
| Dense, heavy crumb that did not puff | Underproofed; under-kneaded; dough too cold | Make sure the dough fully doubled during bulk fermentation. Pass the windowpane test. Ensure the dough is at room temperature before frying. |
| Pale or unevenly colored exterior | Oil was not hot enough; insufficient frying time; did not flip at the right moment | Wait for 340°F (170°C) before frying. Give a full 2–3 minutes per side. Flip once, gently. |
| Filling leaks out the other side when piping | Hole was poked too deeply; too much filling; filling was too thin | Push the tip only 2 cm in. Fill slowly and stop when you feel resistance. Chill thin fillings until thicker. |
| Tough or chewy dough after re-rolling scraps | Re-rolled the scraps too many times; over-kneaded the scrap dough | Gently press scraps together — do not knead. Re-roll only once. Accept that the last few donuts may be slightly less tender. |
Frequently Asked Questions
What are sufganiyot?
Sufganiyot (singular: sufganiya) are traditional Israeli Hanukkah donuts — rounds of rich, yeasted dough that are deep-fried in oil and filled with jam, custard, chocolate, or other fillings, then dusted with powdered sugar. The name comes from the Greek word sfog, meaning “sponge,” referring to the dough’s soft, absorbent texture. While they resemble jelly donuts, sufganiyot are distinguished by their enriched dough, their cultural significance, and the specific reason they are fried: to commemorate the miracle of the oil in the Holy Temple during Hanukkah. They have become the single most iconic Hanukkah food in Israel, where millions are consumed each year during the eight-day holiday.
Why do we eat fried food on Hanukkah?
Fried foods on Hanukkah commemorate the miracle of the oil. When the Maccabees liberated and rededicated the Holy Temple in Jerusalem (circa 165 BCE), they found only one small cruse of ritually pure olive oil — enough to keep the Temple’s menorah burning for a single day. Miraculously, the oil lasted for eight days, until new oil could be prepared. Eating foods fried in oil is an act of pirsumei nisa — publicizing the miracle — which is a central theme of Hanukkah observance. This is why both sufganiyot (fried donuts, common in Israel) and latkes (fried potato pancakes, common in Ashkenazi diaspora communities) are traditional Hanukkah foods. The oil is not incidental; it is the entire point.
What is the best oil for frying sufganiyot?
The best oil for frying sufganiyot is a neutral-flavored oil with a high smoke point and a reliable hechsher (kosher certification). The top three choices are peanut oil (produces the crispest exterior and the cleanest flavor, smoke point 450°F / 232°C), sunflower oil (excellent all-around choice, smoke point 440°F / 227°C), and canola oil (widely available and affordable, smoke point 400°F / 204°C). Avoid olive oil (too low a smoke point for deep frying, and its flavor is too assertive), coconut oil (solidifies on the donut surface as it cools), and any oil that lacks kosher certification. Whichever oil you choose, maintain it at 340–350°F (170–175°C) throughout frying.
Can I bake sufganiyot instead of frying them?
Technically, you can bake rounds of this dough at 190°C (375°F) for 12–15 minutes until golden, and you will get a pleasant, soft roll. But let us be honest: they will not be sufganiyot. The entire purpose of sufganiyot is the frying. The oil is the connection to the Hanukkah miracle. A baked sufganiya is missing its neshamah (soul). The thin, crisp crust that forms during frying, the pillowy interior that steams inside that crust, the way the powdered sugar clings to the fried surface — none of these can be replicated in an oven. If you are going to make sufganiyot, commit to the frying. It is easier than you think, and the result is incomparably better.
How far ahead can I make sufganiyot?
Sufganiyot are at their absolute best within 2–3 hours of frying — that is the window where the crust still has a faint crispness and the interior is at peak tenderness. For planning purposes: you can make the dough the morning of your Hanukkah party, let it rise over 1–1.5 hours, cut and proof the rounds, and fry 1–2 hours before guests arrive. Fill and dust just before serving. If you must fry further ahead, store unfilled sufganiyot at room temperature for up to 8 hours and re-crisp them in a 180°C (350°F) oven for 3–4 minutes before filling. The dough itself can be made the night before and cold-proofed in the refrigerator — remove it 30–40 minutes before rolling and cutting to allow it to come to room temperature. Never fill sufganiyot until you are ready to serve.
You Just Learned the Art of Sufganiyot
Hanukkah baking does not stop here. Explore more of our tested, trusted recipes — each one built with the same precision, the same kosher care, and the same love.
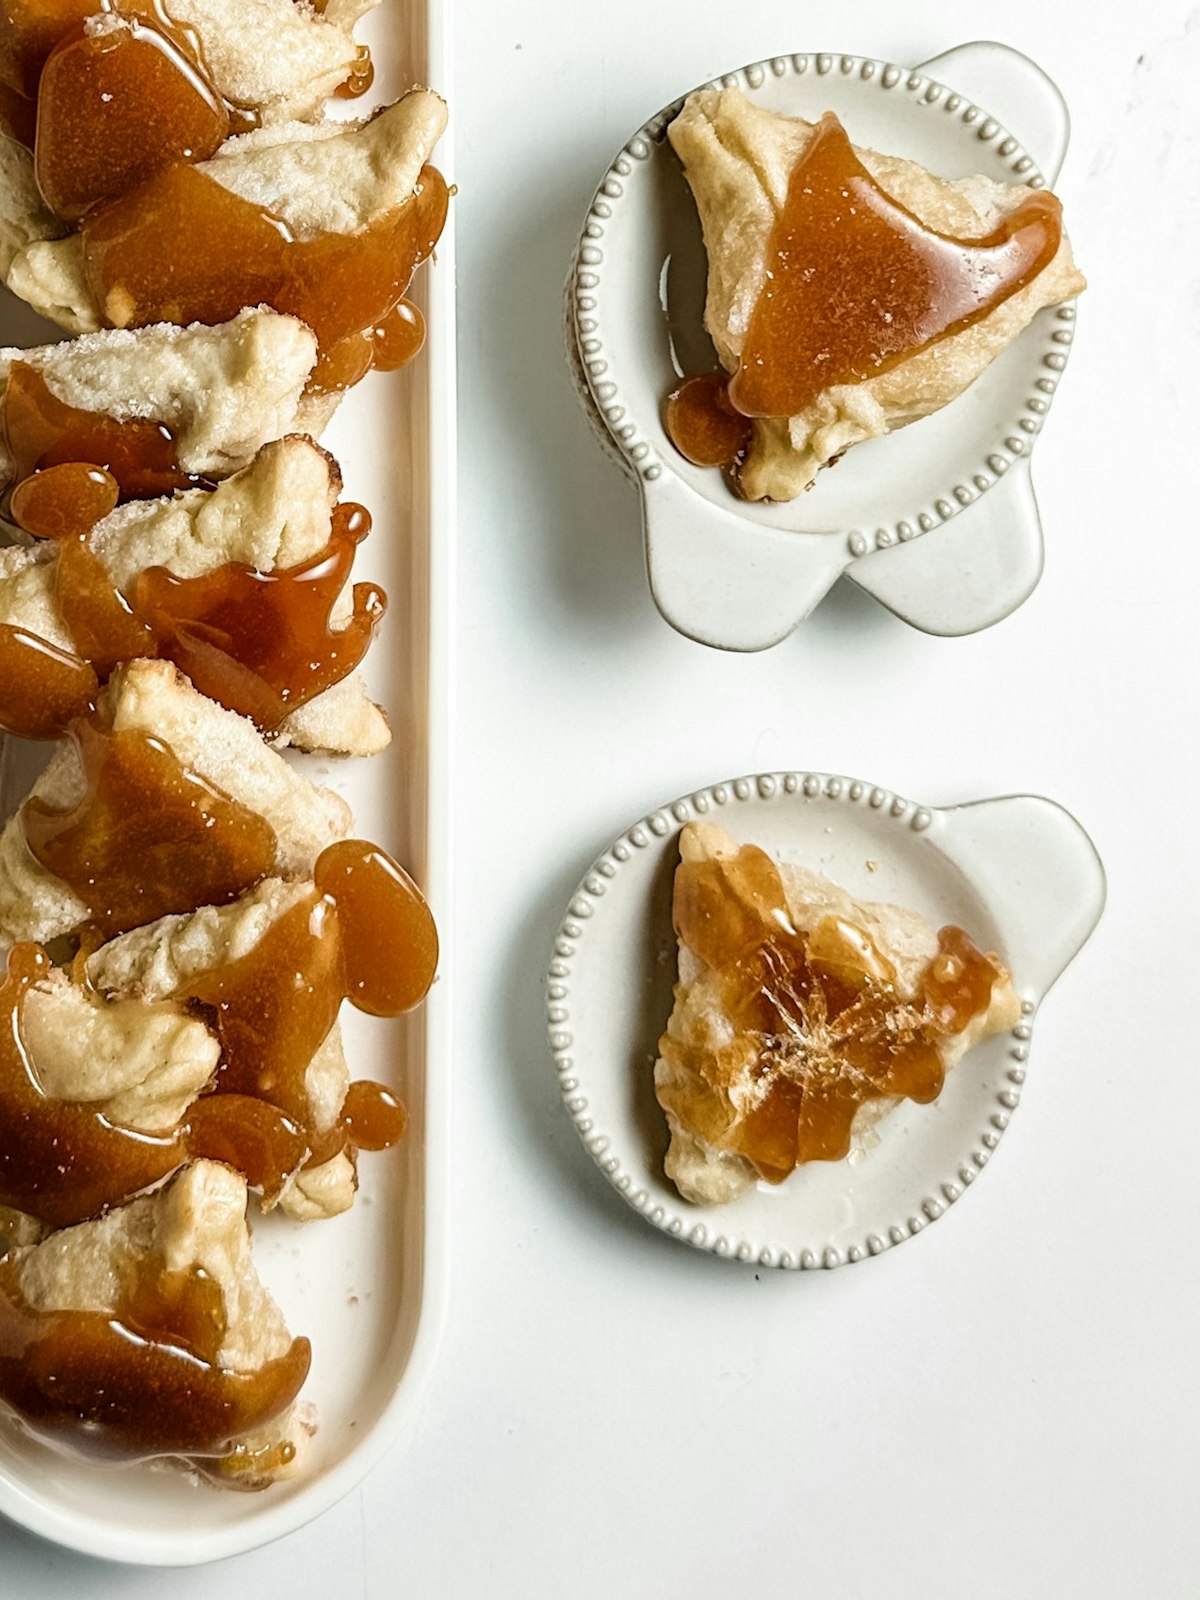
Try Our Hamantaschen →
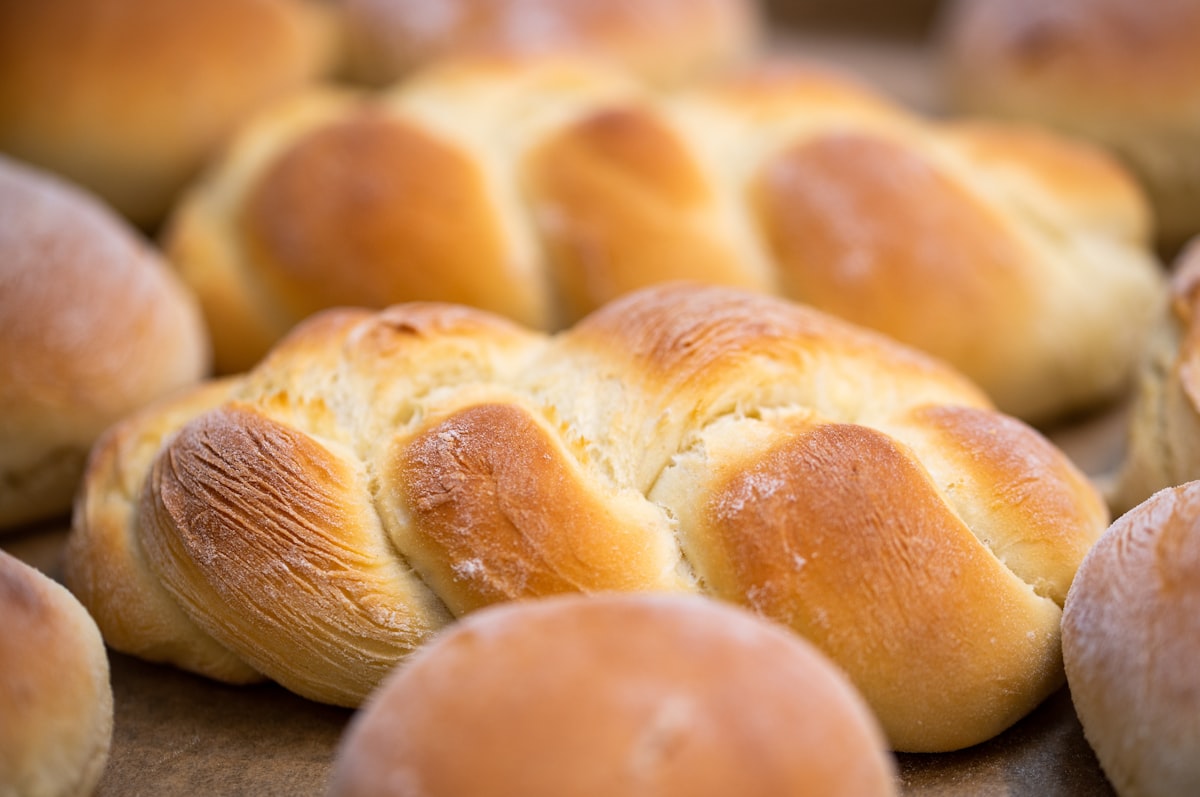
Master Our Classic Challah →
Made these sufganiyot? We want to see. Tag us @kosherbreadpro on Instagram or leave a comment below.